Lessons from my 6 month stretch and my texlax results

2017-04-11 15.56.56

Hello ladies

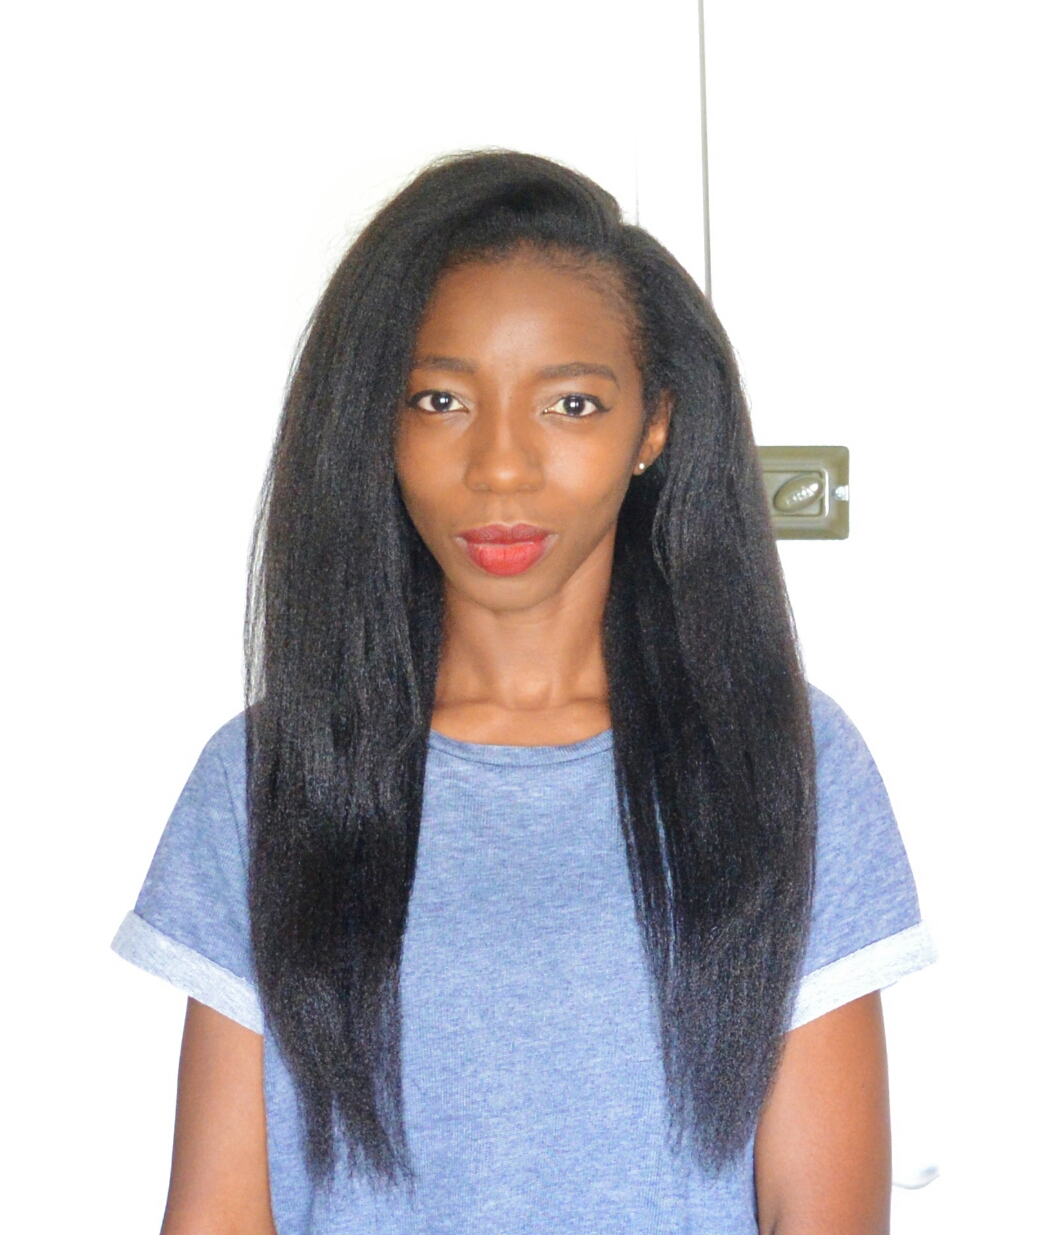
You may know that I relaxed my hair almost three weeks ago and I have shared some of the pictures on Instagram but this post is crammed with loads more.

I stretched for 6 months plus and I certainly learned a few lessons along the way which as always, I hope you can benefit from.   I will attempt to keep things short and sweet and jump right into it.

pixlr_20170411155126312

The Cons of My 6 Month Stretch


It was time consuming and got increasingly difficult

The longer your hair and the longer the stretch, the more time and effort hair care takes.   I am usually quite good at stretching but I really struggled on this stretch and absolutely dreaded wash days.

Even though my wig regimen usually makes my stretches more bearable, I struggled to be consistent and patient with my hair.

I think I also found the stretch challenging because I was quite busy with work over the last few months and just really didn’t have the time that was needed to manage my hair as well as I would have liked.
Breakage at the line of Demarcation

I noticed that I had more breakage at the line of demarcation. The breakage occurred more in the areas that have thinner and weaker hairs. This reminded me that everyone’s hair is different and some ladies may not be able to stretch for long periods as it may do more harm than good. I usually notice some breakage on my 5 month stretches but the breakage on this stretch was more than I felt comfortable with. This is the main reason I doubt I’ll stretch for 6 months in the future.


pixlr_20170411152730764


The Pros of My 6 Month Stretch


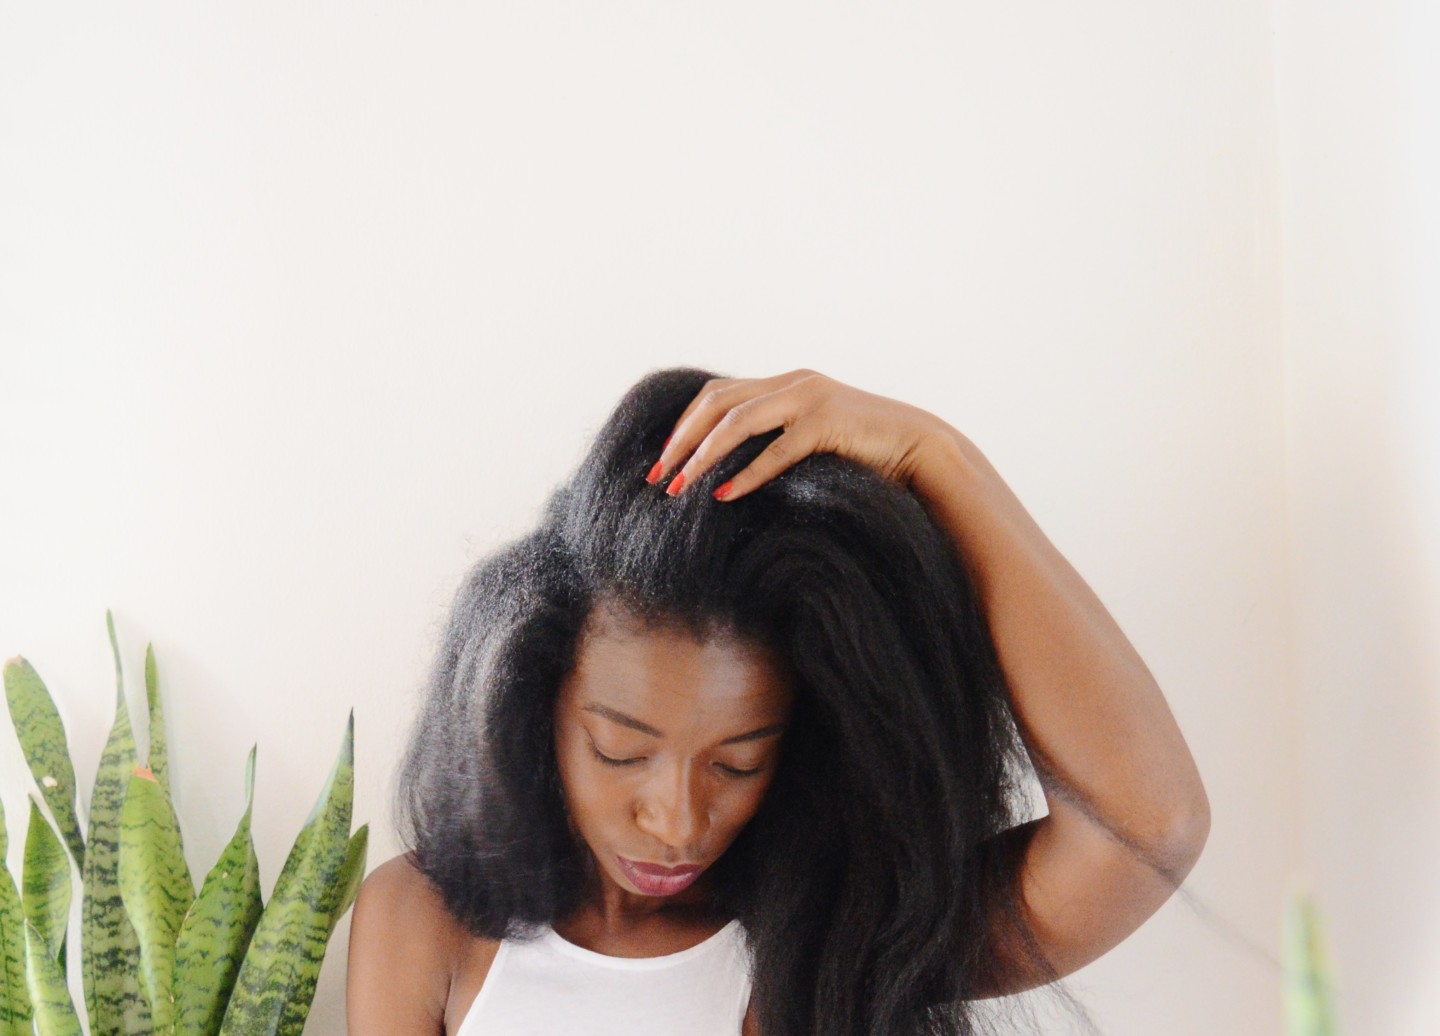
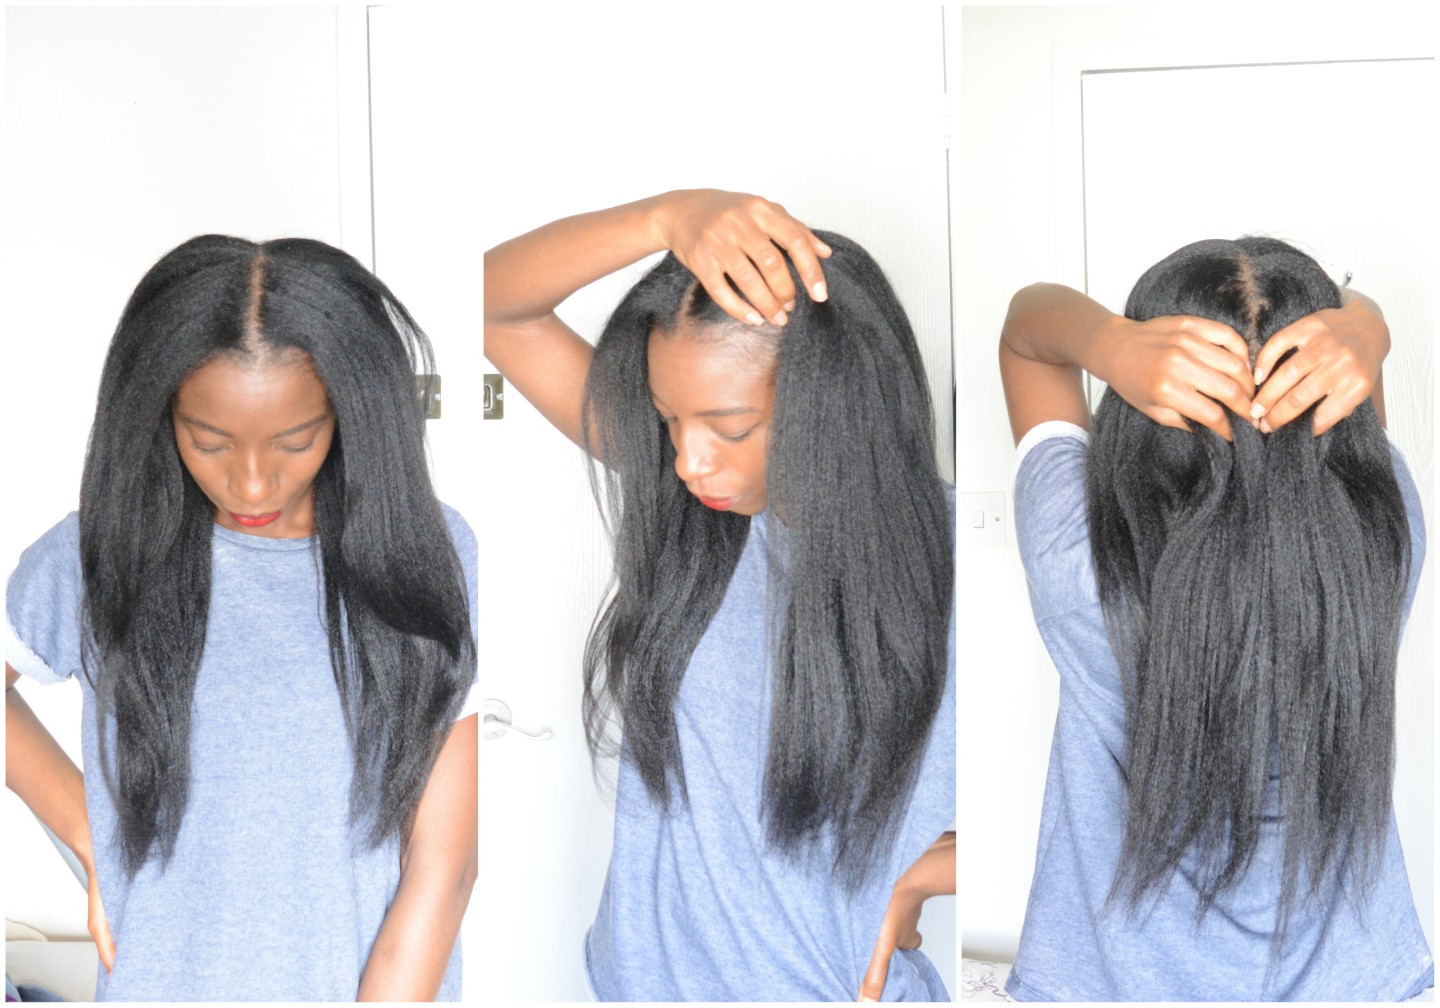
My hair feels healthier than it does after shorter stretches.

At several points on this stretch, I felt as though my hair was becoming quite damaged as a result of my struggle to manage the two textures. The length of my hair added to the difficulty of it all.

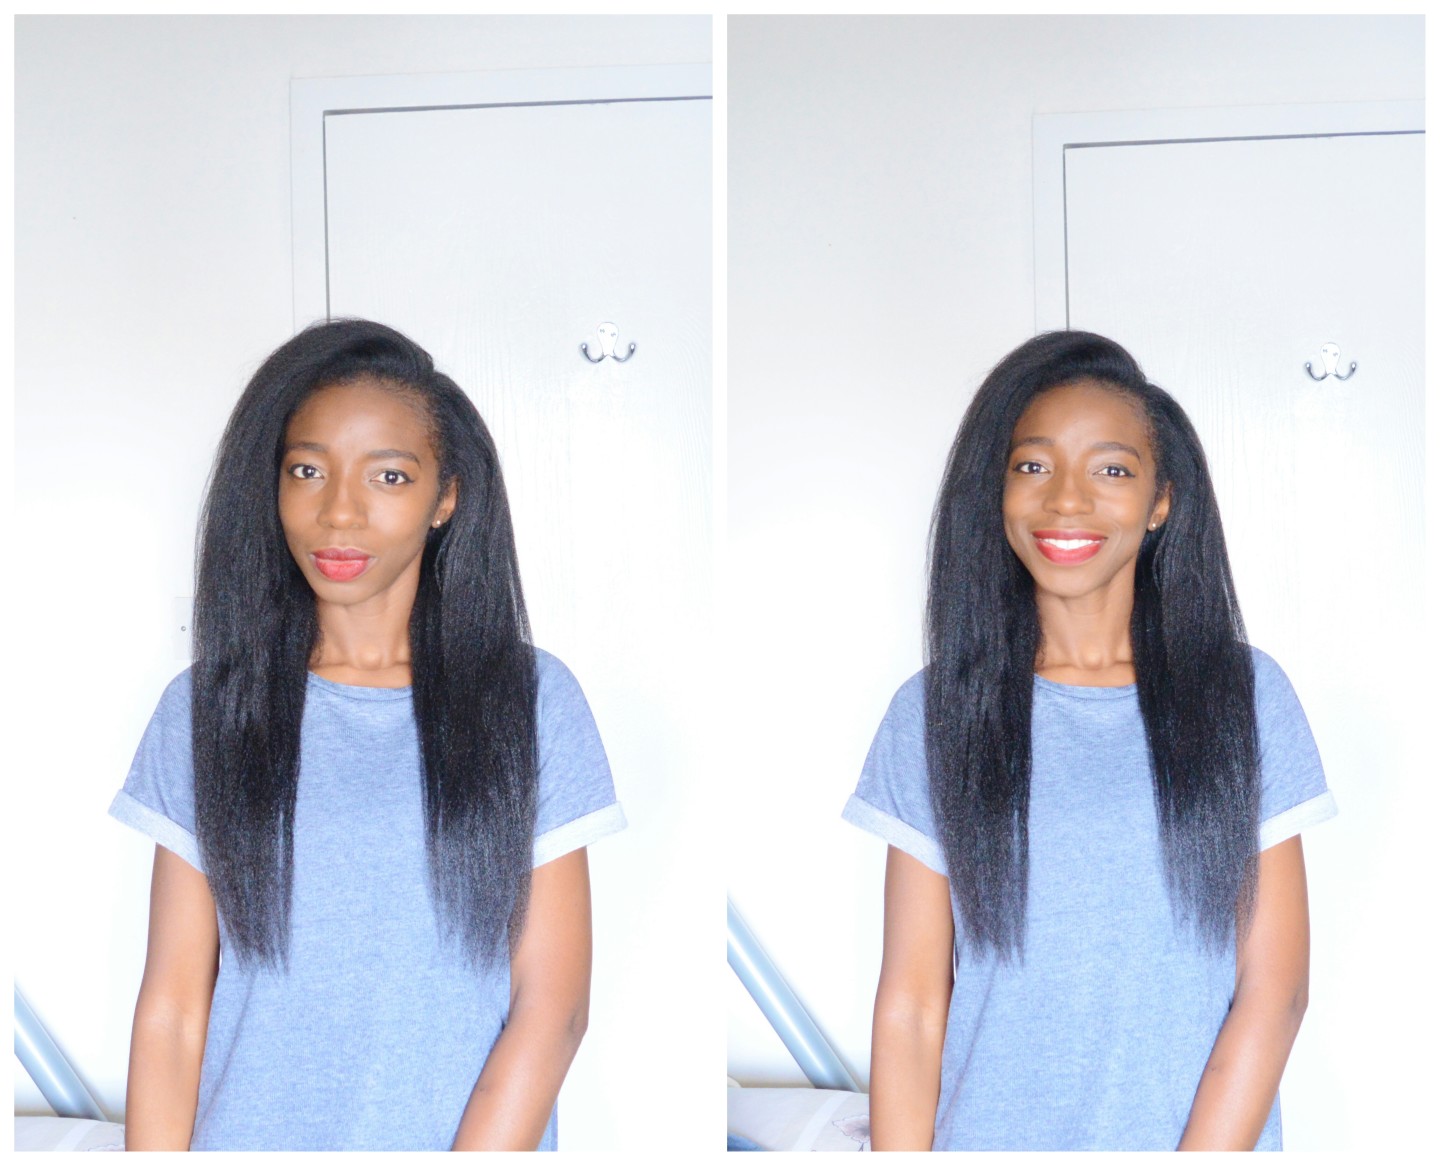
To my genuine surprise, when I texlaxed eventually, I found my hair to be in the best shape it has ever been since I began my hair journey. This reminded me that the less we expose our hair to harsh chemical processes the healthier our hair is….so long as we remain consistent with good hair care practices.
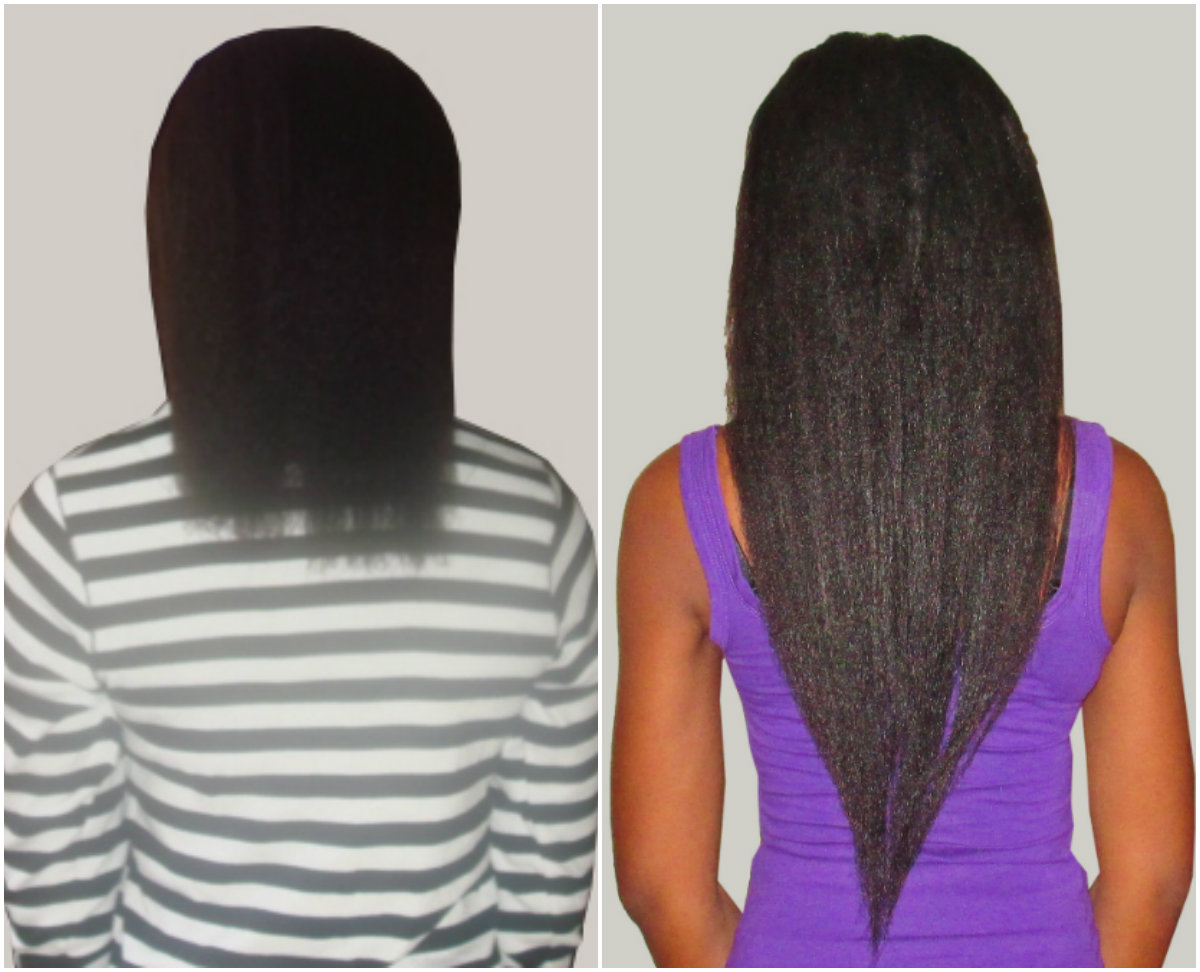
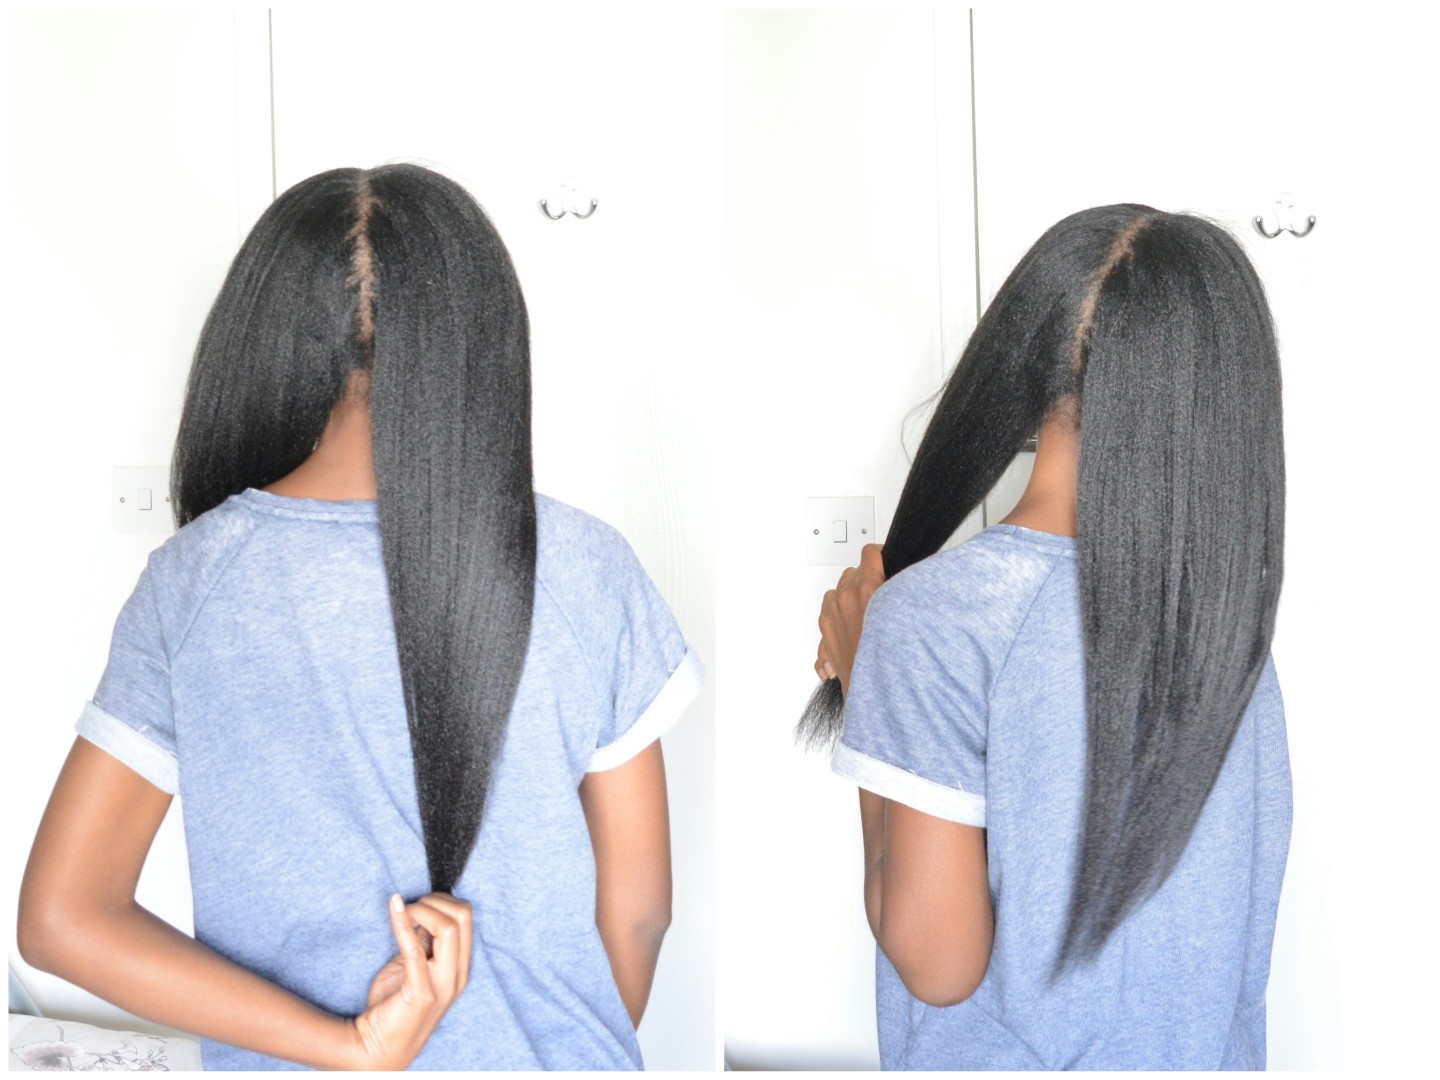
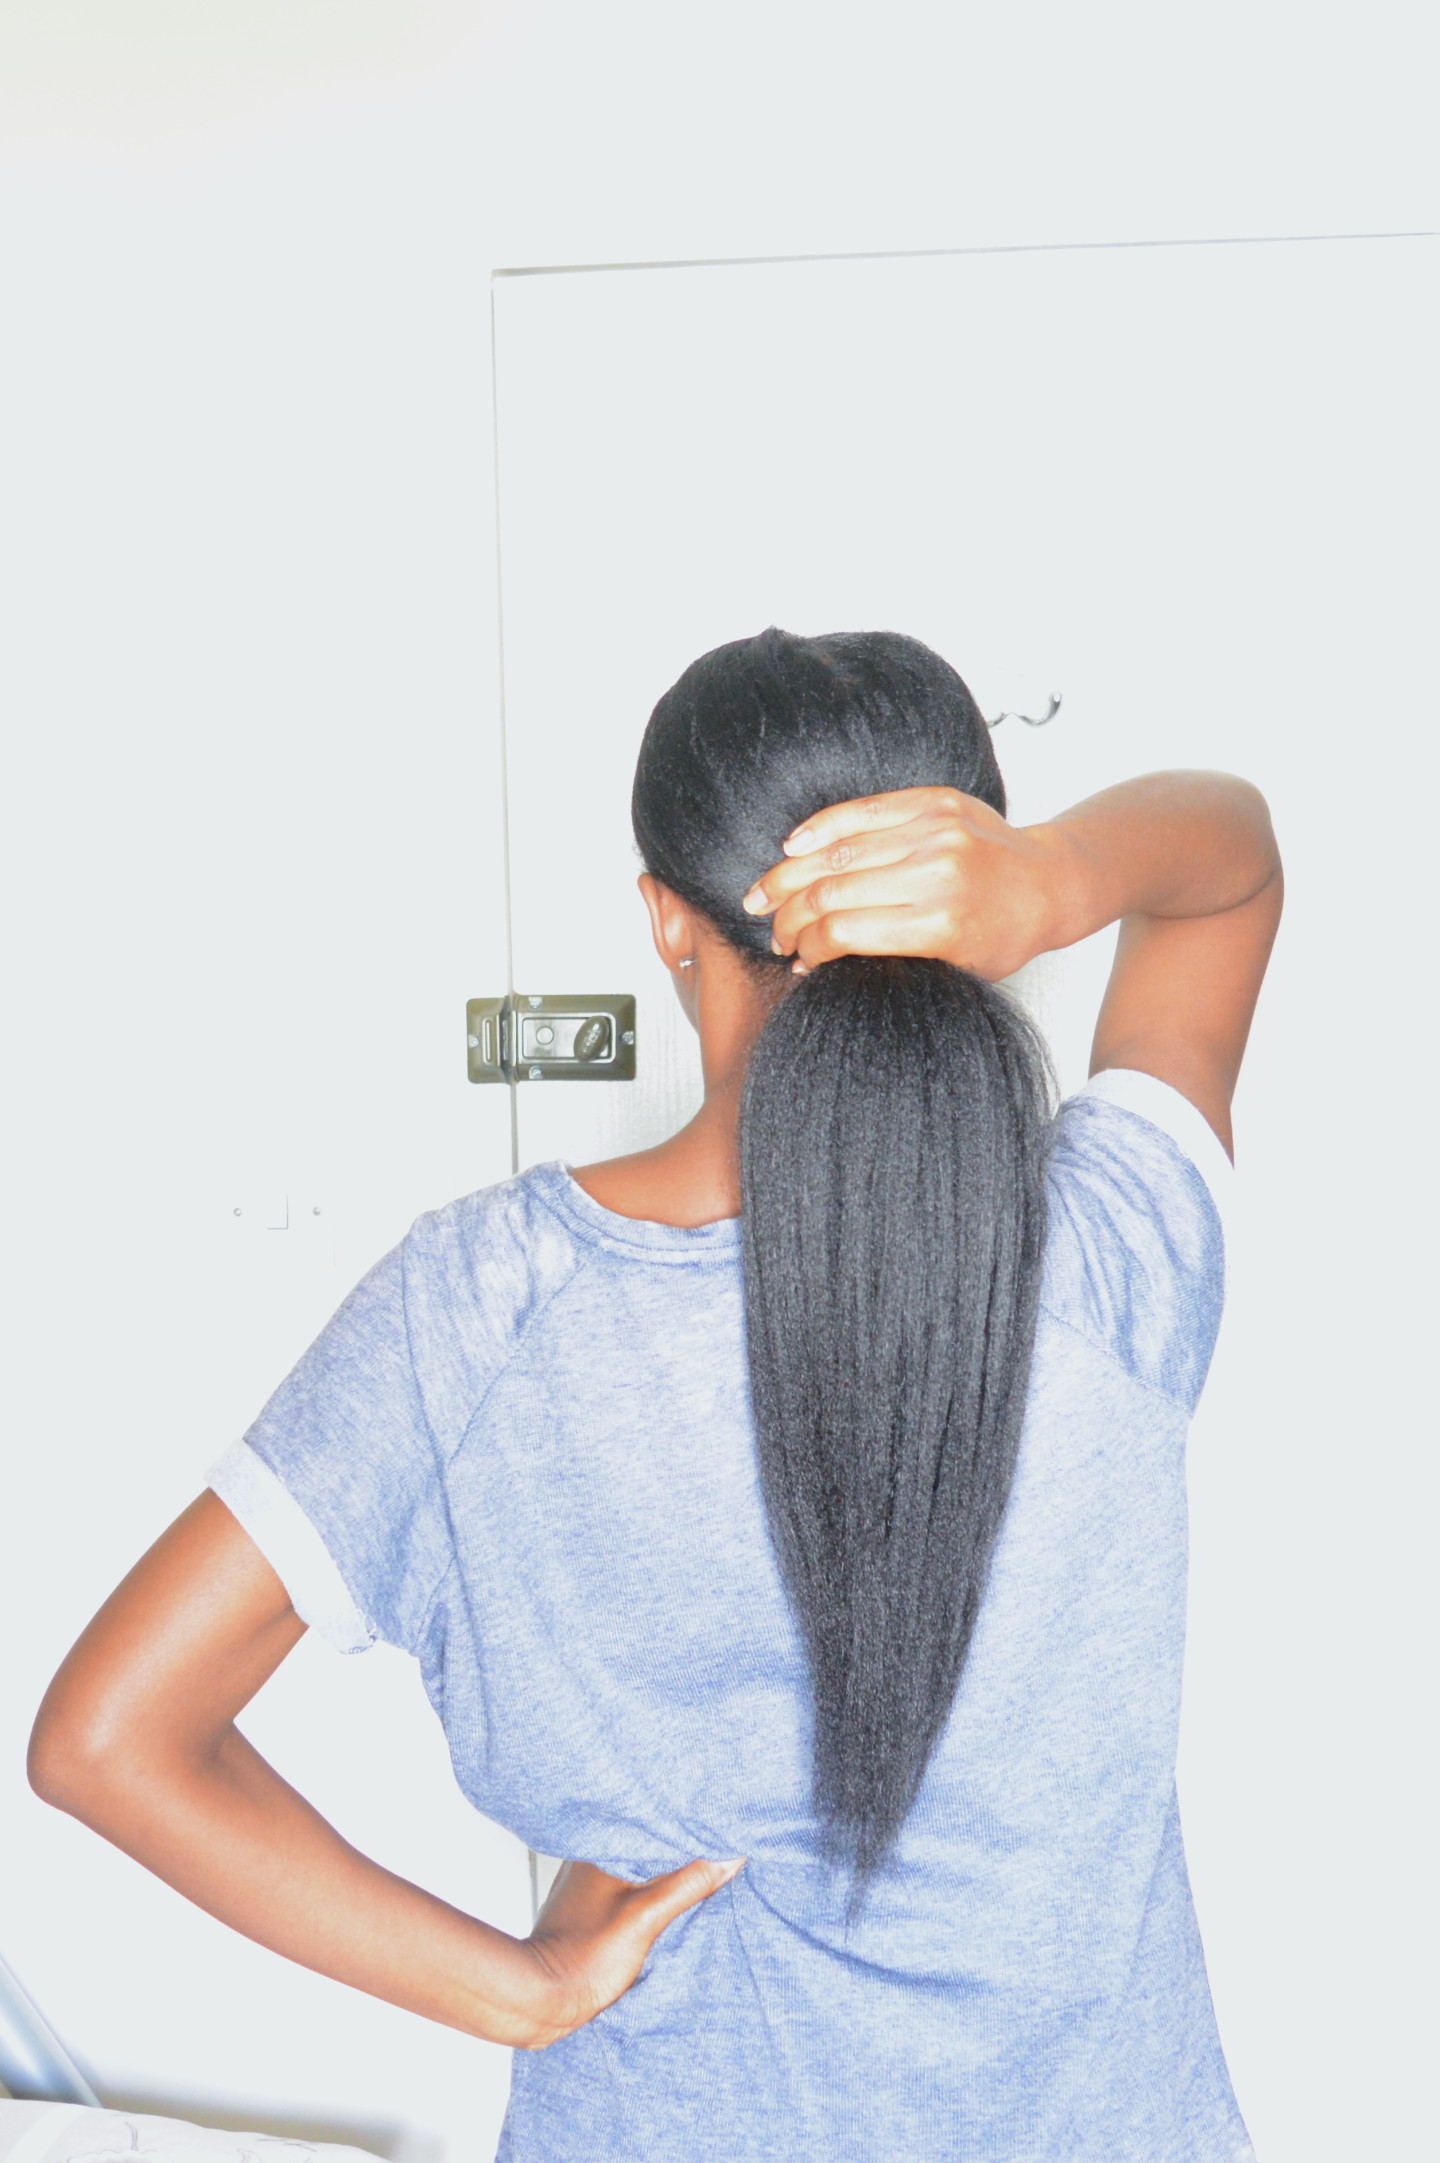
My ends are the best they have ever been

A long term hair goal of mine was to have even blunt or full looking ends.

I don’t want to create unrealistic hair goals.  It is normal for hair to be a bit thinner towards the ends because with age and wear and tear, the cuticles of our hair gradually chip off and results in thinner hair especially towards our ends which are the oldest part of our hair.  I however felt that because I was no longer letting my hair get longer by cutting off approximately 6 inches a year, with normal hair growth, good hair care and regular trims I would eventually have thicker ends.

Towards the end of my stretch, my hair began to look very uneven and I became discouraged about the stretch and I ended up cutting off two inches just so that wouldn’t look so bad.
When I eventually texlaxed my hair I could see that my ends where nowhere near as bad as it looked but I still cut off a further inch and half after my texlax.
I have trimmed off a total of 3 and half inches and my ends are currently in pretty good shape. I hope to maintain this by being consistent with my regimen and trimming as and when necessary.

2017-04-11 15.55.22

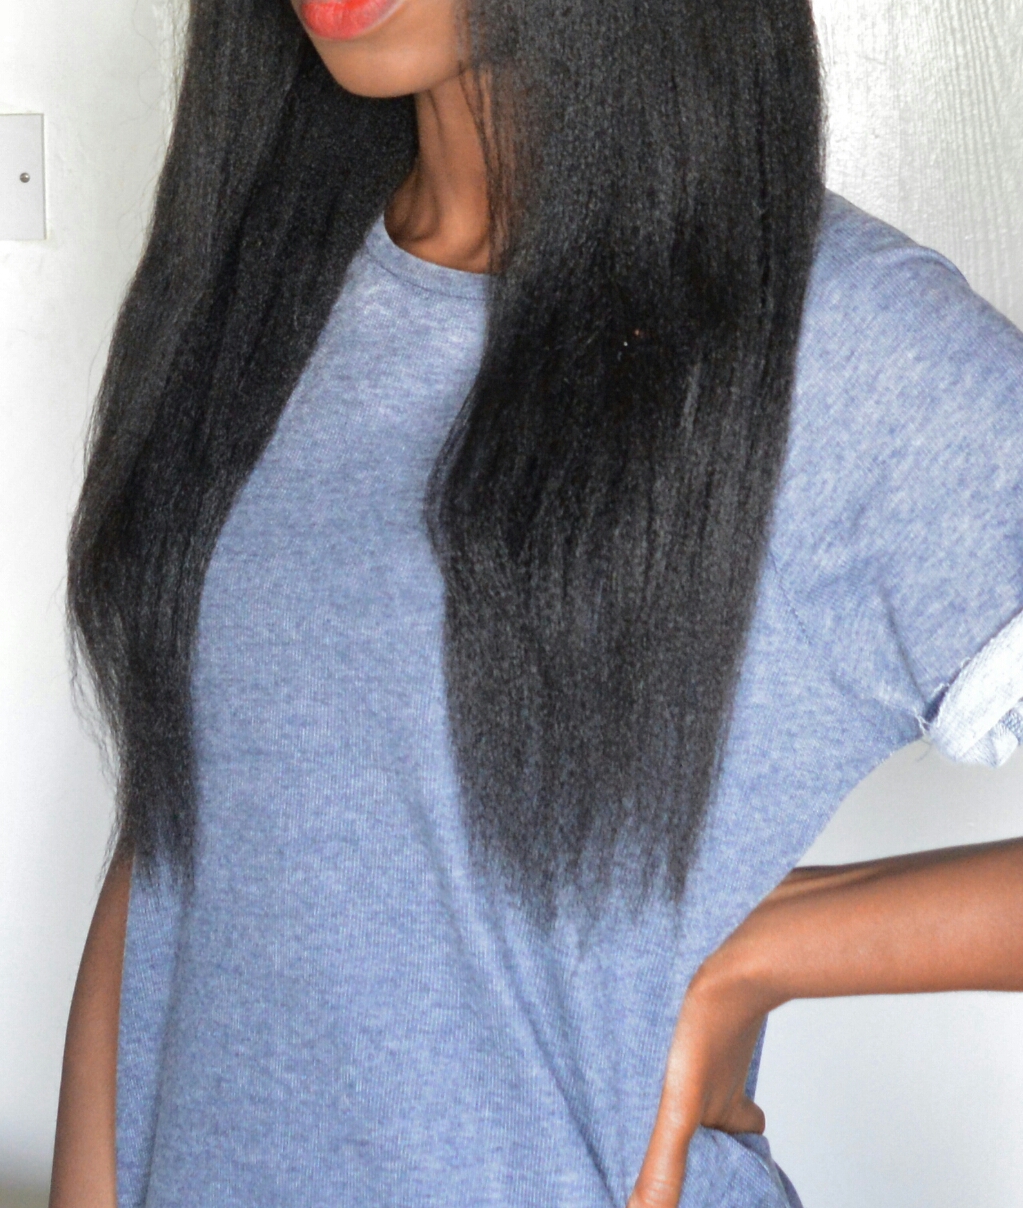
If you are on a long term stretch, it is normal for your ends to begin to look very thin and lifeless in comparison to your thick new growth. Try to hold off trimming until your next relaxer and if for whatever reason you can’t wait that long, try not to get too scissor happy and cut too much off.


Despite the positive aspects of this stretch I don’t think I will stretch beyond 5 months in the future. I simply don’t want to work as hard as I had to on this stretch.

pixlr_20170411160435467

Have your recently ended a stretch? How did you manage the stretch and were you happy with your results?
My next post will be a simple hair style pictorial after a much needed wash day.

See you soon.

x

Lade

Learn | Change | Grow


Three Techniques That Helped me “Grow” My Waist Lenght Hair

DSC_4986

Hello Ladies

In this collaboration post with the lovely full haired Tonkabelle of Wura’s Secret Hair, we intend to share our top tips that have helped us grow our own hair to our desired length.

As many of you may know, I offer a hair care consultation service. The first session I have with my clients involves me asking a series of questions so that I am able to advise them accurately. One of the questions I ask my clients is; what do you want for your hair or what are your hair goals? Do you want to guess what the number one response is???? Length!!!! is without a doubt the top answer I receive.

The fact is although there are now so many ladies who have grown their hair to their desired goal, there are by far many more who “seem” to have stunted hair growth, still move from one set back to another and generally are not happy with the length and health of their hair.

There are many practices that have helped me turn the state of my hair around. I choose the following top three because they are the ones that were a major change in how I treated my hair.


Three Techniques that Helped me Grow my Hair

Before I get into the three techniques, because I have quite a number of new readers (hey ladies!!!) I have to start by explaining that hair grows longer when we are able to prevent damage and breakage of our existing hair, ie, the hair we have already grown.

What I find is that so many ladies trying to grow longer hair become obsessed with how fast their hair grows. Many don’t realise that what they should be focusing on is caring for the hair they have already grown.   Because no matter how fast your hair grows, if it keeps getting damaged and breaking off you won’t get the long hair you are looking for.  If however you are able to prevent breakage and keep/retain the hair you currently have then with time your hair will get longer. Retention is the key or secret to longer hair.

If you haven’t already please read the section of Hairducation called How To care For Black Hair for general hair care advise that will help you prevent breakage and damage and help you retain/keep your hair so that it grows longer. Off course I share all my own techniques in that section too.

Now if I had to pick three things that really made a huge impact in me retaining/keeping my hair and growing it to its current length it would be the following

DSC_9054


1) Reducing Manipulation

Manipulation in this sense can include combing, styling, playing with or generally physically handling your hair.
Black hair is fragile so must be manipulated gently and excessive manipulation should be avoided. Many ladies who have been successful on a hair journey note that they were able to retain more hair when they cut back on unnecessary manipulation because it often leads to breakage. Simply put; leave your hair alone.

Before my hair journey I would comb my hair several times a day…just for fun. I would experiment and change hair styles very frequently. I loved playing with my hair but all that excessive combing and styling was leading to breakage and shorter hair over time. Now I comb my hair once or twice a week max, I avoid experimenting with hair styles too often, instead I experiment with wig styles and extensions rather than my own hair. I basically try to leave my hair alone as much as possible.


2 Reduce the Use of Direct Heat

Direct heat such as blow driers, curling irons or straightners when used regularly dries out our hair internal moisture making it brittle and prone to breakage.
I used to wash and condition my hair often prior to my hair journey but I would blow dry it on very high heat settings every single wash day, I would style my hair using curling irons several times during the week, sometimes daily.
Now I avoid direct heat as much as possible and only use indirect heat (heat from steamers or hood driers when deep conditioning, rollersetting). If don’t have time to air dry my hair I will use a blow drier but only on the cool air setting.


3) Moisturising and Sealing

Surprisingly, before my hair journey I was aware of many good hair care practices, I simply ignored them because I didn’t think they made an actual difference.
Moisturising and sealing however was a practice I had never ever heard of before my hair journey. I would apply leave in conditioner to my hair on my wash day and nothing else until my next wash two weeks after. My hair was always dry and brittle and if it began to break badly I would apply a hair grease.

Hair that is well hydrated will have good elasticity which helps it fight breakage.  Black hair tends to be drier than other hair types and needs our help to stay hydrated and fight breakage. We do this by moisturising and sealing our hair regularly.

Prior to my hair journey I never EVER moisturised and sealed my hair. When I started my hair journey my hair was in such a bad state I had to moisturise and seal twice a day. As my hair became healthier ot retained moisture better and I began to moisturise and seal once a day. Now because my hair is in quite good shape I moisturise and seal every other day.
The other practices which I know also contribute to me retaining my hair length is protective styling and moisture/protein balancing.  I hope you have been encouraged by this blog post.

Don’t forget to go check out Tonkebelle’s tips on how she retains her hair on her blog Wura’s Secret Hair.

I relaxed my hair on 20th March and if you follow me on Instagram you may have seen some of pictures of my results already but I have loads more to share as well as all the things I learned from my 6 months stretch.

I hope you’ll be back soon.

x

Lade


Gray Hair and How to Care for it

2017-03-24 14.20.41

Hello Ladies

From the emails and comments I receive, I have come to realise that many of Hairducation readers have gray hair and would like to learn more about it.  Even if you don’t have gray hair at the moment, reading this post will help you know what to expect in the future.

In this post, I will explain how hair gets its colour, what causes hair to become gray and how hair changes when it becomes gray. Finally I will give some tips on caring for gray hair.


How Hair Gets Its Colour

Each strand of hair has three layers, the cuticle (outer most layer), the cortex (the middle layer) and the medulla ( the inner most layer).
Each  hair grows out of the hair follicle (the root of the hair).  In the hair follicle/root, there are some cells that produce colour pigments.  These colour pigments are distributed within the cortex layer of hair as it is growing out of the follicles.
This means that the colour we see when we look at our hair is actually in the middle layer of each strand and not in the outermost layer. The colour pigments in our hair acts as a protection of Ultra Violet (UV) rays from the environment. Basically colour in our hair acts like a sunscreen.


What Causes Hair To Become Gray

As we get older, the cells in the roots produce less colour pigments which makes the hair growing out of the follicle lighter.  Gradually the cells eventually stop producing colour pigments and die.  At this stage the hair growing out of the follicle turns white.


How Graying Affects Hair

There are many effects of loss of hair colour.

  • It will feel drier and more wiry
  • It will have less elasticity and strenght
  • It becomes more difficult to process with chemicals such as hair colours or relaxers. ie it may take longer for the the chemicals to work on gray hairs.
  • It becomes more prone to damage and breakage. This is because the colour pigments protect our hair fibres and when it loses this in built protection fromUV rays, it becomes more fragile.
  • Some ladies notice that their gray hairs changes texture, it may become more curly or may become
  • straighter than usual.
  • It may appear duller because gray hair does not reflect light as well as hair with colour pigments
  • The strands that are gray may look thinner because it contains less protein than hair with colour. Our hair is mainly made up of protein which gives hair its bulk hence it looks thinner when it loses some of its protein when it becomes gray.
  • Gray hair tends to absorbs chemicals from the environment and can turn yellow.


Tips for Caring for Gray Hair

  • Use products that are designed for gray hair. Products formulated for gray hair help to combat some of the effects of graying.  Shampoos for gray hair tends to contain ingredients which help to prevent yellowing and also helps to protect the hair from the effects of UV Rays
  • Cut back on the use of direct heat (blow driers, straightners and curling irons)
  • Deep condition and moisturise and seal regularly Gray hair needs to be hydrated regularly to help combat its dryness and brittleness.
  • Protect your hair from excessive exposure to the sun. If you intend to stay under the sun for long periods protect your hair from the UV rays by wearing a hat, scarf or head wrap.

I hope the information in this post will help you care for your gray hair well either now or in the future.
The next post will be my relaxer update post.  I stretched my hair for 6 months and a week.  This has been my longest stretch ever and I plan to share all the pros and cons of it in my next post.

Come back soon and happy hair journey

x

Lade

Learn | Change | Grow


How to listen to your hair

Listening to your hair is an essential part of the journey

Hello Ladies

Something that I heard a lot when I began my hair journey and I find myself saying to my clients all the time is; listen to your hair.

There are so many varying techniques and products used by ladies when caring for their hair.
At the beginning of a hair journey, you probably learn from hair care blogs and YouTube and it can be tempting to try every technique and develop a severe case of product Junkie-ism.  And you know what, it’s okay..actually…… I would say it is important to experiment a little or a lot at the beginning of your hair journey but if you are not listening to your hair, you will be wasting your time, your money and stressing your hair and scalp out.

In this post, I will share how to listen to your hair and when to listen to your hair.


How to Listen To Your Hair

Listening to your hair simply means to see how your hair feels and how your hair reacts, for example does it feel dry and brittle, is it too soft and weak, did it seem to break more when you tried something new. If you are able to assess/review how your hair feels and understand the principles of hair care, you will then be able to make adjustments in your regimen accordingly. The way your hair feels will act as a guide that will tell you what

So for example if your hair feels too soft or too weak, you will know that you may need to use more protein in your regimen or you may be moisturising your hair too. You may not be able to find an immediate solution but the point is seeing or reviewing how your hair feels will help you identify or narrow down where the problems may lie and you can make adjustments until your hair starts to feel just right.


When To Listen To Your Hair

To be honest you should always have a rough idea of how your hair is doing however two very good times to listen to your hair is:

  • When trying out a new product
    See how your hair feels when you use/apply a new product to your hair. When you applied the product did your hair become easier to work with or did it make your hair matt, tangle, feel brittle, etc. I once added aloe vera juice to a homemade spritz some years ago and immediately I applied it to my hair it began to tangle badly. I tweaked my formula so many times but it just was not working for my hair so I knew I had to let it go. Even though many ladies love how it made their hair feel, my hair was having none of it. A helpful tip I should share at this point is to avoid trying too many new products at the same time. Perhaps try one or two at a time. It will make it easier to determine how compatible the products are with your hair.


  • When experimenting with a new technique
    If you are trying a new hair care technique or method, eg co-washing, washing in sections, washing in braids or twists, the LOC/LCO moisturising and sealing methods, pre-pooing etc. Always see how your reacts during and after the process. Off course somethings take some practice before you get it right but if you have tried something 3 or 4 times and it just not working for your hair, go back to what you know does works for it.


  • When Starting A hair Journey
    This is the most important stage at which listening to your hair is essential. Unfortunately most ladies new to hair care don’t know how to judge the way their hair is feeling. Also many ladies new to hair journeys have very badly damaged hair and it can take several months before their hair begins to show signs of improvement. My advice for ladies in this position is that your hair should feel soft as opposed to brittle like dry grass. It shouldn’t sound very crunchy. Also your hair should feel strong as opposed to feeling limp and weak. Try a few new things and gradually you will begin to notice what seems to be working for you hair., ie what makes it feel soft and strong and makes it more manageable.

I hope you have found this post worth reading. My next post is this months up-do of the month which involves a whole lot of beads (thanks for the inspiration Solange).
x

Lade

Learn | Change | Grow


The Benefits of Scalp Massaging

DSC_8424

A practice which is optional in hair care but  is one that I always recommend is scalp massaging.
From my own personal experience I know that my hair tends to look and feel better when I have been massaging my scalp regularly. I am also convinced that it boosts my hair growth rate and there are a few scientific studies that back this up.
In this post, I will be sharing the benefits of scalp massaging, the science behind how it works and setting out the steps of a good scalp massage.


Benefits of Scalp Massaging

  • It helps to promote scalp health by helping to keep the scalp toned and conditioned. A healthy scalp is necessary for hair growth.
  • It stimulates the hair follicles and encourages new growth
  • Some studies have shown that it can increase hair thickness
  • It enhances the strength of our hair follicles ( roots)
  • It helps in the removal of toxins from the scalp by helping with lymphatic drainage.
  • It is great for relaxation and overall well being.


How It Works

The manipulation/kneading/massaging of the scalp opens up the blood vessels which increases blood flow to the scalp. This is where the magic happens.
The blood that reaches the scalp helps to deliver oxygen and other nutrients to the hair follicles in the scalp.  All this goodness (oxygen and nutrient) being delivered to our scalp at increased levels or more regularly because of scalp massaging is what leads to all the benefits listed above.
The use of essential oils for scalp massages has been shown in a number of studies to help boost the effects of the scalp massages. Essential oils have also been proven to have positive effects when used in the treatment of alopecia areata.


How to do A Scalp Massage

  • Step 1 – select your oils.
    You should choose the carrier oil and the essential oil(s) you would like to use.
    A few examples of carrier oils that can be used include Jamaican Black Castor Oil, olive oil, jojoba oil, grapseed oil.
    Some of the essential oils that have been shown to be good for scalp massages include rosemary, peppermint, lavender, thyme, cedarwood, etc. For my scalp massages I tend to use one teaspoon of carrier oil mixed with 4 to 6 drops of essential oils.

DSC_5332


  • Step 2 – Dip and Apply
    Dip the pads of your finger tips into the mixed oils and apply it to your scalp


  • Step 3 – Knead or manipulate
    Use the pads of your finger tips to knead/manipulate/move your scalp in a gentle circular motion staring from the front at your hairline and working your way back towards your nape.
    Apply gentle pressure with your fingers during the massage.
    Do not tangle or rub the hair on your scalp, the aim is to move/knead the scalp not the hair on the scalp. The scalp massage should last between 5 to 10 minutes.


As always I hope you have found this post helpful and I encourage you incorporate regular scalp massaging in your hair regimen. When I ‘am being good, I try to massage my scalp twice a week and I would do it often if I had the time.
Do you already massage your scalp regularly?  If yes what oils do you use and how do you think its improved your hair?

My next post will be another educative post about how to understand what your hair is telling you.

See you soon

X

Lade

Learn | Change | Grow