I was looking through some of my really old (and mostly blurry) hair pictures and was reminiscing about the ups and downs my hair journey.
I found myself thinking about the practices that I believed truly made my hair journey a success and decided it would be a good blog post. I hope this post will serve as a reminder that hair care techniques are way more important than hair products for a hair journey to be successful.
My Top 7 Changes I Made To My Hair Care Habits
Please note that this list is personal. These techniques may have different effects on your own hair but as always I am only offering up my own experience as a guide.
No 7 : Air Drying
Pre Hair Journey:
I knew regular washing was supposed to be good for black hair so I would wash my hair weekly and I would blow dry on a high heat setting. I would drag the comb attachment of the blow dryer through my hair. Unbeknown to me a lot of things I was doing on my wash days were making my hair break and was actually causing damage.
Blow drying on high heat always left my hair feeling extremely dry and brittle…aka crunchy. I would lose sooooo much hair but thought that was expected for black hair.
I had read in so many magazines that blow drying wasn’t great for our hair but I always thought “common, once a week can’t hurt”.
Post Hair Journey:
I decided to give the air drying thing a try. What I noticed firstly was that I didn’t have tons of hair breaking off each weekend and that may hair was did not feel as brittle. Although I did miss the swing that blow drying gave my hair.
With time I noticed a vast improvement in my hair and blow drying weekly became ancient history for me. My hair was getting fuller (because it was growing and I was getting less breakage) and it absorbed and retained moisture better.
After a few months of air drying, my hair looked so much healthier and had better elasticity. With time I have learnt how best to air dry my hair so that it feels bouncy and fluffy.
No 6 : Combing Only on Wash Days
Pre Hair Journey
I would comb my hair every morning before styling it because it seemed like a regular morning ritual…like brushing your teeth.
I would drag the comb through my hair and loads of hair would break off.
Post Hair Journey
I finally understood that our hair is fragile and realised that daily combing was not advisable for black hair. Combs tend to cause breakage when dragged through matted or tangled hair. Combing regularly also physically stresses and contributes to the damage of our hair fibres over time.
Weaker damaged hair = higher risk of breakage
The less often we comb our hair the better. This does not mean we should allow our hair to tangle and matt. Finger detangling and finger combing is a better option. Also you can locate and remove tangles better with our fingers.
I initially switched to combing my hair a few times a week and eventually began combing it only on wash days. I noticed less breakage and less thinning of my hair at my ends.
No 5 : Moisturising and Sealing
Pre Hair Journey
I used to use greasy products to “moisturise” my hair. I thought at the time that moisturising my hair was something I need to do to make styling my hair easier. Applying a form of hair crème or grease and then combing my hair was just another morning ritual. I never ever sealed my hair before my hair journey.
My hair always felt coated but dry.
Post Hair Journey
I finally understood why black hair tends to be drier than that of other races and that this was why ensuring our hair is moisturised is important to minimise breakage. I began to experiment with a few “truly” moisturising products and picked the ones I felt worked best with my hair.
I learnt about the benefits of sealing with an oil to help lock in moisture within our strands for longer.
My hair felt soft through the week and was not weighed down with grease. I also noticed that I had less breakage when my hair was due for a relaxer touch up. This was because I had learnt the importance of keeping my new growth well moisturised.

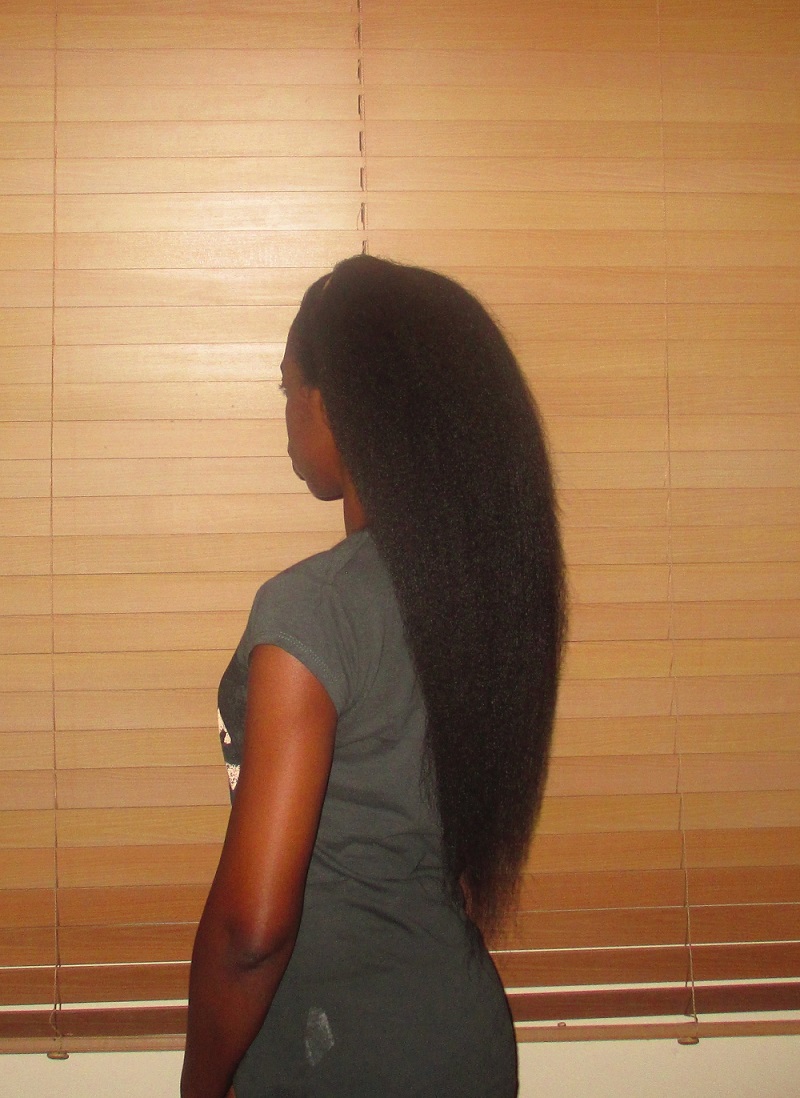
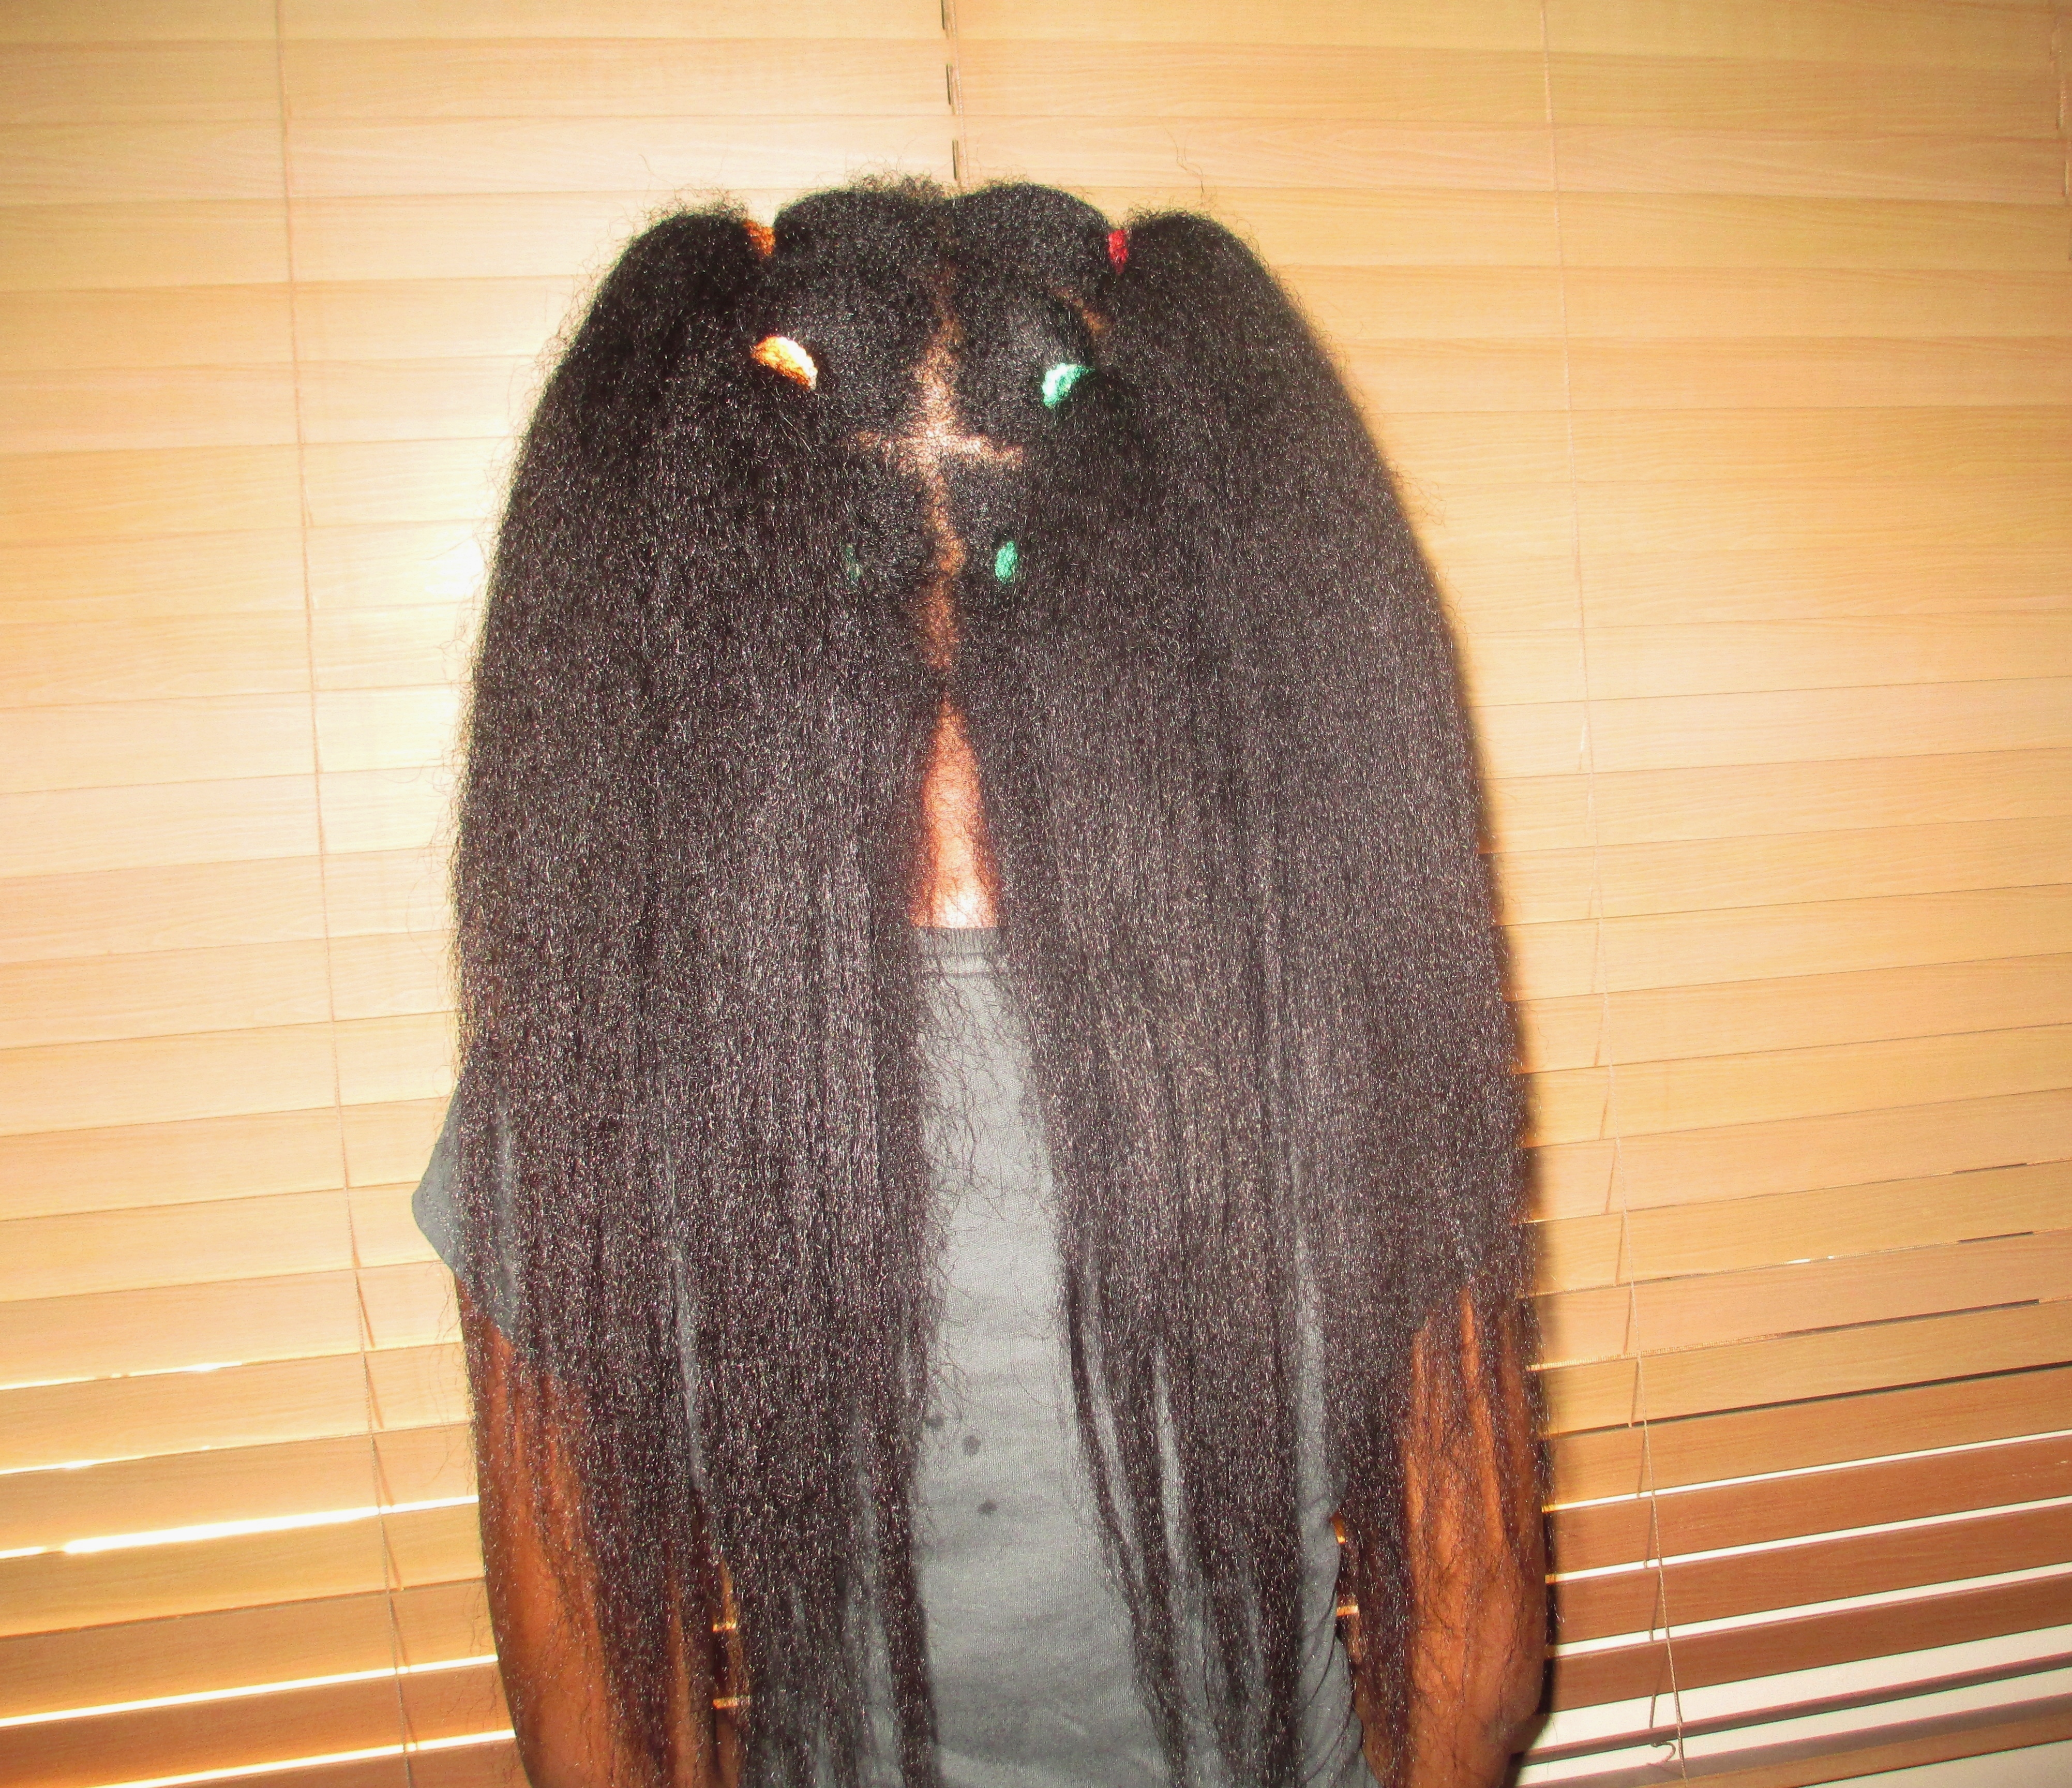
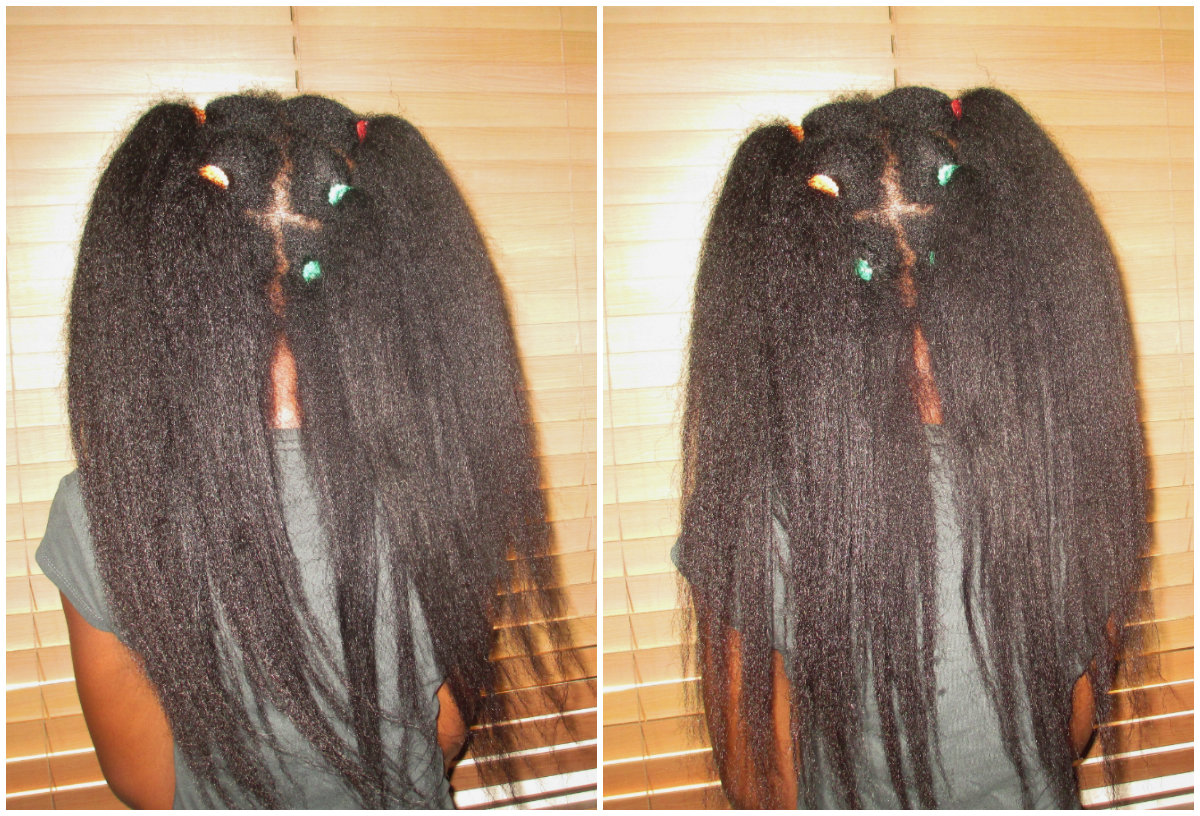
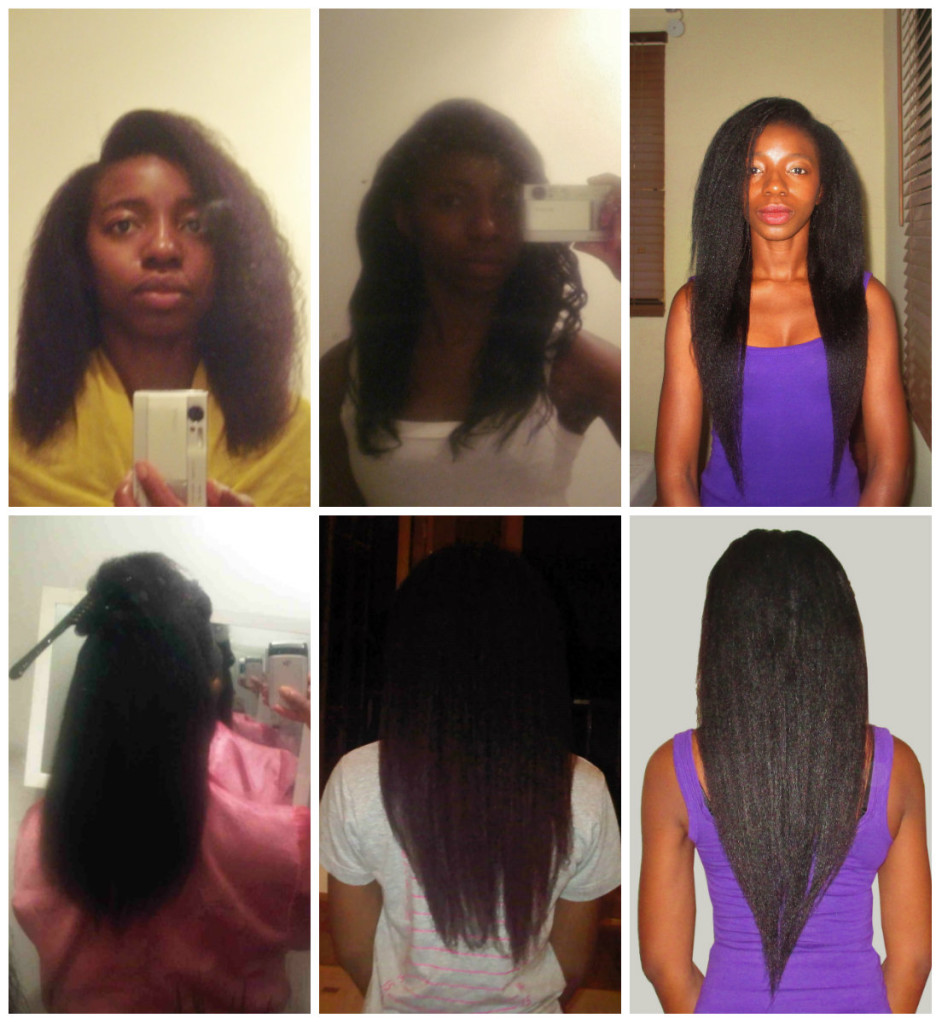
Texlax Result December 2010. This was 1 year and 3 months into my hair journey and I could see that all my hard work begining to pay off.
No 4 : Working in Sections
Pre Hair Journey
I knew nothing about caring for hair in sections. I thought hair only had to be sectioned for processes like relaxing or perhaps trimming.
Post Hair Journey
I learnt a lot from other ladies who had started their hair journey before me and inspired me to start my own journey. These ladies often talked about applying product in sections to ensure even distribution and to have better access to their roots.
They also discussed combing and manipulation their hair in sections to reduce the risk of tangling and breakage. I tried it and experienced all the benefits I had read about.
A huge benefit that I would like to add is that working in sections will help you get to know your hair a little better. I was able to identify which part of my hair grew faster or slower, which parts sheds more, which parts were sensitive at the scalp, which parts needed more or less products, which parts tangled more, etc. I think it’s the best way for you to learn how to understand YOUR hair so that you give it what it needs.
No 3- Protective Styling
Pre Hair Journey
I knew before I started my hair journey that regular heat styling should be avoided and that leaving my hair down every day could lead to dry frizzy and split ends. I ignored these facts and did whatever I liked with my hair. On some days if I was bored at home I would use a curling iron to create various styles in my hair just for fun and would be at it for over an hour.
When I started experiencing severe breakage I cut down the heat and wore my hair in ponytails (not buns). My ends were still exposed to the elements and would rub on the back of chairs, clothes and scarves, etc which led to split ends.
Post Hair Journey
I realised that the mistake I was making was not fully grasping the concept of protective styling. I was only going half way…I was wearing protective styles but did nothing to care for my hair whilst it was in those protective styles. So even though I began hiding my hair under wigs my hair continued to suffer from neglect.
Some of my styles were low manipulation hair styles like the ponytail but they were not completely protective because my ends would get dry from exposure to sun and wind. They were also sustaining damage and wear and tear. I would need to trim very regularly as I always had split ends.
Now when my hair is out I ensure that majority of my ends are hidden in the styles I choose to wear. Off course I can leave it down occasionally if I want to.
I created my wig regimen which I still follow to ensure my hair would not become damaged from neglect when wearing wigs.
With my wig regimen, I was able to retain more hair than ever before and as I have always said, this was the regimen that took me from shoulder length to bra strap length and beyond.
This was my own personal formula for growing (retaining) hair.
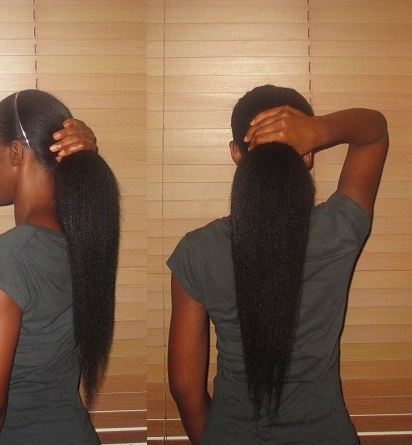
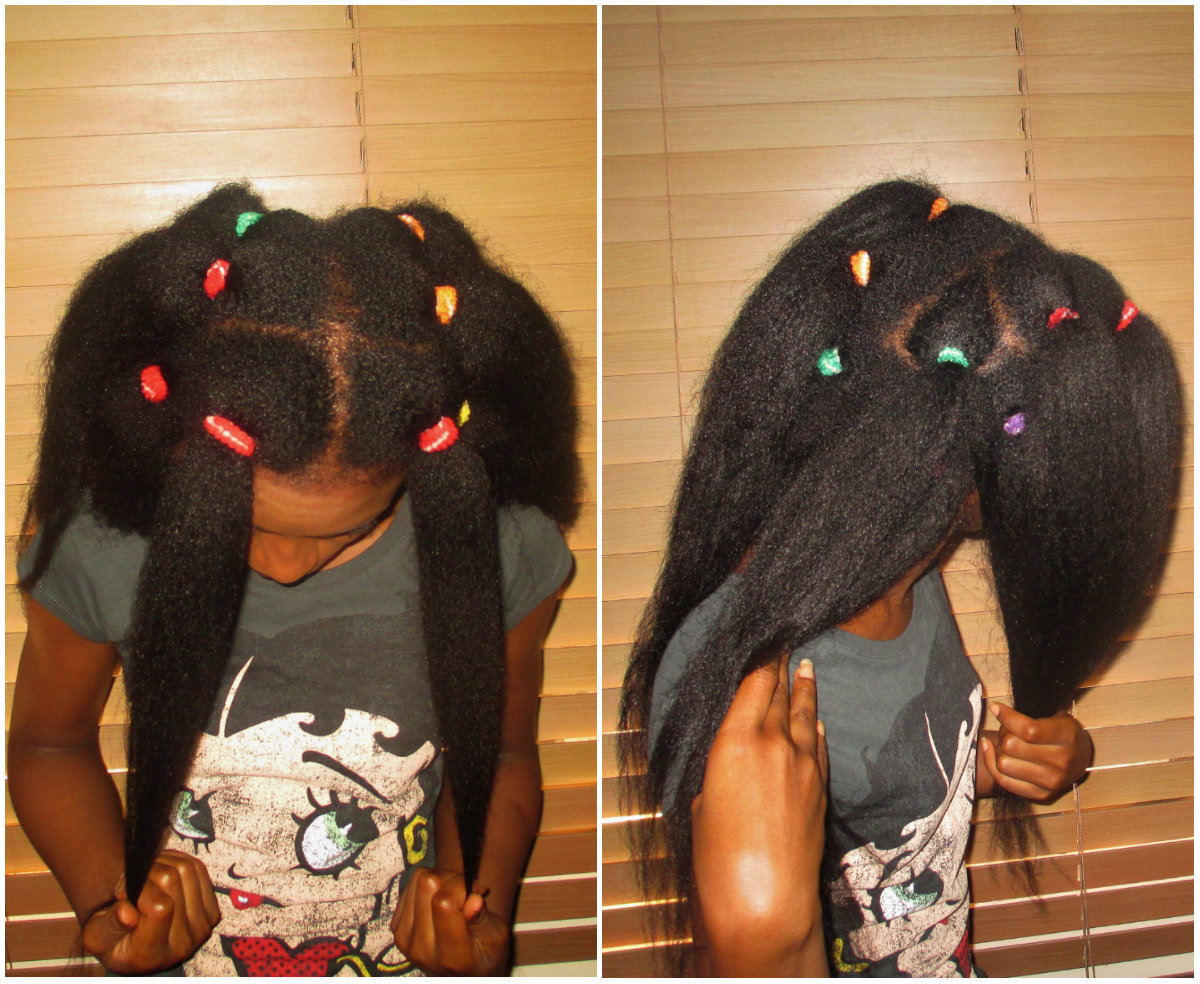
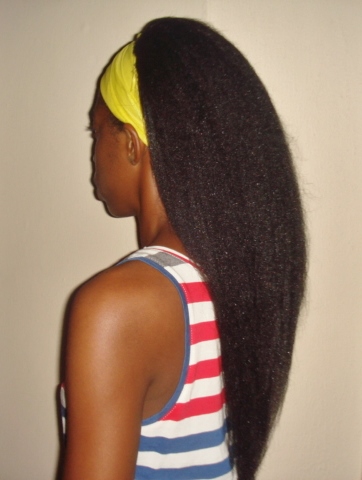
Texlax Result January 2012. This was 2 years and 4 months into my hair journey. I saw this picture and then I really believed that my hair could groooooow just like all those ladies I had seen on YouTube
2- Balancing the Use of Protein & Moisture
Pre Hair Journey
I knew absolute zero about whether a product was protein based or moisture based or how it affected my hair.
What I did know was that my hair always felt dry, brittle and crunchy like dry hay or straw leaves. I had no idea that using my hair products incorrectly was the cause of this.
Post Hair Journey
On starting my hair journey, I would often notice write ups about protein and moisture balance but always ignored them. Finally one day on a long commute to work I read about it and suddenly EVERYTHING (on a hair front) made sense. It was the missing piece of the puzzle for me.
With protein and moisture balancing I could “choose” how I wanted to make my hair feel but most importantly I understood what my hair needed to thrive. My hair was no longer a mystery.
I understood why my hair had been feeling dry for years…….90% of my products were protein. I remembered times in the past when my hair felt mushy and limp and over stretchy and realised that that had been caused by using too many moisture products.
Its like my eyes were finally open and I felt like Neyo in The Matrix.
Now my approach to selecting conditioners and leave in conditioners is always guided by whether the product is moisture or protein based. My hair thanks me for this by thriving.
Please see this post for more information about protein and moisture balancing.
No 1 : Washing in Braids
Pre Hair Journey
I always washed my hair together as one and was usually left with very matted and tangled hair on most wash days. Every wash day felt like a mini set back. I would lose tons of hair.
The worst thing is that when I wore weaves or braids, I would sometimes try to wash and deep condition my hair a week before relaxing because I read in a magazine that it would prepare my hair for relaxing. However, when I followed that advice I often suffered from major tangling and locking which would result in major setbacks.
I decided to begin relaxing my hair the same day I removed extensions which obviously caused its own set of problems and I would still lose a lot of hair. It was a lose-lose situation.
My wash day tangles were one of the major reason my hair never really grew past shoulder length.
Post Hair Journey
I am not sure when exactly on my hair journey I learnt about washing hair in box braids but I can say that for ME without a doubt this is the ultimate technique. It stopped completely what was causing ME to have minor and major setbacks with my hair. So for me it is number one because it was the solution to MY biggest hair problem.
Although my wash days became significantly more time consuming as have to put my hair in box braids before washing, it is worth it. I always ALWAYS wash my hair in braids.
Ladies whatever challenges you are facing on your hair journey, do a little research on what that problem is and see how other ladies have overcome it. Remember what works for someone may not work for you but if you don’t try then you will never know.
This post was waaaaay longer than I planned but I hope it has encouraged someone out there to not give up on this mini lifestyle change we call a hair journey.
I still have my challenges but hey….its not called a journey for nothing….. I am still learning, changing and growing…..
What issues are you having on your hair journey ladies? What have you tried to overcome them?
The next blog post will be a hair update and a hair style pictorial. I really wasn’t keen on the last ones I did and I am determined to do better on the next one.
See you soon
x
Lade
Learn | Change | Grow