PUT A BOW ON IT: Hair Style Pictorial

Hello Ladies

I hope everyone has been well.  It’s been a little busy on my end hence the delay in posting this pictorial.  As always thanks for putting up with me.

I was in two minds about putting up this pictorial because I thought it would have looked much nicer if it had been created on freshly washed or combed hair.  I created the style on my hair 4 days after I had washed and combed it.  So my hair was not very smooth because as you may know, I only comb my hair on wash days.

I reviewed the pictures and decided they were okay enough to show how to create a bow bun with your own hair.  And that is the point of the pictorial.

I have seen pictorials of this style on soooooo many websites and I thought most people knew how to create it.  I was surprised that whenever I wore the style out I would get asked how I did it.
It is so easy to create; it is a low manipulation and protective style which I always encourage.  Also, it takes less than 5 minutes to create which is a big plus in my opinion.


THE PICTORIAL

Bow Bun collage


HAIR LENGHT REQUIRED FOR THE STYLE

You should be able to create this style with your hair if it is shoulder length or longer.  I decided to use my training head with shoulder length hair as a model for the style. I think the bow on hair of this length looks really cute. Bow bun collage 2

The funny thing about this style is that every time I wear it…..and I mean every time, I have a lady say “that is a really cute style, my daughter (or niece) would love it”.   I plan to keep wearing the style though, because I like it.  The question is would you wear this style?????


HAIRDUCATION NEWS

I was featured on a really cute blog called Folasoasis. Fola, the lovely lady behind the blog is a natural head but features both relaxed and natural ladies which is awesome.  To see the feature and to check out her blog click on this link.

I have some great news to share.  I have been working on a hair related project since the inception of Hairducation and at last everything is set up and ready to go. It’s a new chapter for me, for Hairducation and it may be a new chapter for your hair too.
I hinted about it in this post but will break it all down in my next post.

So see you again soon

x

Lade

Learn | Change | Grow

#bringbackourgirls


HAIR BY TYPE 4 – Some We Made Earlier

Custom made wig for TA

Hello ladies,

As many of you may know, my sister and I have a wig production company, Hair by Type 4, which specialises in creating u-part wigs.

U-part wigs are the only form of hair extensions I wear. I have shared why I stopped wearing weaves, started wearing wigs and how I used u-part wigs to grow my hair in this post.  I love u-part wigs because it gives the look of a weave without spending hours in a salon, aggressive pulling and tugging of you own hair, very tight and often uncomfortable sewing and restricted access to you hair. With u-part wigs you can have your cake and eat it too.
We have had loads of requests for information and pictures of our wigs. Many of you lovely readers have become clients which has been awesome. I decided it was high time for me to put up a few pictures of some of the wigs we have created.
Hair by Type 4 clients have two options; the custom made service or the readymade style option. In this post I will focus on the custom made service. I will do another post soon to showcase our readymade styles.


THE CUSTOM WIG SERVICE

We can create you a custom made U-part wig with your own hair extensions.  You can choose the style, location of the part and supply us the hair to convert into a wig for you.  Mass produced wigs cannot meet the taste of every woman. The custom wig service allows you to use hair wefts you like to create a style you want.

Please note that Hair by Type 4 wigs are not hand sewn or glued on wigs which are created in most salons. Our wigs are created mechanically ensuring that the wigs will last for many years without need for repair, re- stitching or re-gluing. It also ensures a better finished product.
Some of you my recognise your wigs below 

Custom Made wig for TA 2

Custom Coloured Racy Collage

Hair by Type4 Custom Wig 1

Hair by Type4 Custom Wig 2


Custom wig for B

Custom wig for NN

If you would like further information or would like to place an order please send an email to hairbytype4@gmail.com

Are you a wig lover like me? Why or how did you start wearing wigs?  What is your wig regimen?
X

Lade

Learn | Change | Grow

HAIR UPDATE


Hello ladies
How are we all doing?
I’ve had this post ready for a few days now but with the current situation in Nigeria at the moment I just didn’t feel right posting it. As the days go by and as the #bringbackourgirls momentum gathers I pray for the safe return of the girls and pray for peace through the world.

MINI TRIM

Hair Update May 14

Post mini trim at 11 weeks post, very poofy at the roots and a lil harder to manage but its a good problem to have


I decided to trim my ends a little.
Whenever I mention to people around me that I am going to trim my hair I get perplexed “why” from them.
I trimmed to remove ends that are really really old and have seen better days, i.e. weak, damaged and thin ends.
Also my goal length is waist length. Even after my trim it is a little past waist length but I guess I will trim again probably when I texlax in July or August. I am not gonna lie, I still find it a bit hard to cut off more than two inches at a time. Hopefully by August I won’t chicken out again.
I am not sure how much hair I trimmed off. I put my hair in 12 small sections and I assessed the ends of each section and trimmed what I thought needed to come off.

MOISTURISING AND SEALING

I’ve been really good on this front. I have not skipped on moisturising and sealing daily and my hair is better for it. It feels softer and looks better. I am currently 10 or 11 weeks post and have some new growth so I make sure my roots are well moisturised to prevent excessive dryness and breakage at the line of demarcation. I’ve been using s-curl on my new growth and so far so good.

WIG REGIMEN

hair update may

My last wash day, air dried hair with just my leave ins ( Aphogee Green Tea and my mix of Cantu Shea butter and S-Curl.


I have sooooo missed my wigs. I am going to transition into my wig regimen in the next few days and frankly I can’t wait. Because of all the new growth, everything is taking longer and longer to do so when I put it away my hair care will seem like a breeze.
It is much easier for me to manage my hair under my wigs and I don’t have to tamper or manipulate it as much. Remember less manipulation equals better length retention.

So thats my hair update. How is your hair journey going? Some of you send me your progress pictures (which I really do appreciate and welcome). I am glad to see your hard work paying off.
I think I am going to start blog features soon so that ladies who are interested can share their hair journey and inspire others.
I haven’t forgotten that style pictorial which is coming up next. Stay blessed.

X

Lade
#bringbackourgirls

TEXLAXING (PART 2) – METHODS OF TEXLAXING & MY TEXLAXED STORY

Hello Ladies

I am glad to be putting up this blog post at last….sorry for the delay.
For ladies do not know what texlaxing is, please read part one.  In this blog post, I will discuss methods of texlaxing, how I transitioned to texlaxed and which methods I use to texlax my hair.

Before I jump into part two, I would like to address some comments left on part one.  A few ladies commented that they struggled with tangles and knots as a result of texlaxing, especially on their wash days.
I can certainly understand where you are coming from ladies as I used to have this problem too.  The solution that helped me overcome this problem was washing in braids and ALWAYS working on my hair in sections.  Please see the blog posts I have written on these methods.  I hope they help you reduce the stress of tangles and knots.  Remember you can always tweak my suggestions to suit you.


METHODS OF TEXLAXING

1)      Weakening the relaxer by adding a few teaspoons of oil or conditioner.  Do not add any essential oil.  Only carrier oils such as olive, coconut, almond, castor oil etc, should be added.
The oils or conditioner added also change the relaxers consistency, making it more runny thereby also reducing its straightening power.

2)      Adding a heavy oil or grease to your new growth.  This barrier slows the speed at which the relaxer opens up the cuticles to start working.

3)      Time reduction – not giving the relaxer enough time to straighten your new growth.  Simply rinse of the relaxer earlier than you are supposed to.  The relaxer would have broken some protein bonds in your hair but not as much as it would have if the relaxer was left on for full time.

4)      Minimal or no smoothing- when we apply relaxer to our hair it breaks some bonds in our hair however smoothing/pulling the roots  also contributes to our hair taking its new straight form.  By either smoothing very little or not smoothing at all, our hair will not become completely straight.

HOW I TRANSITIONED TO TEXLAXED texlaxed hair bun

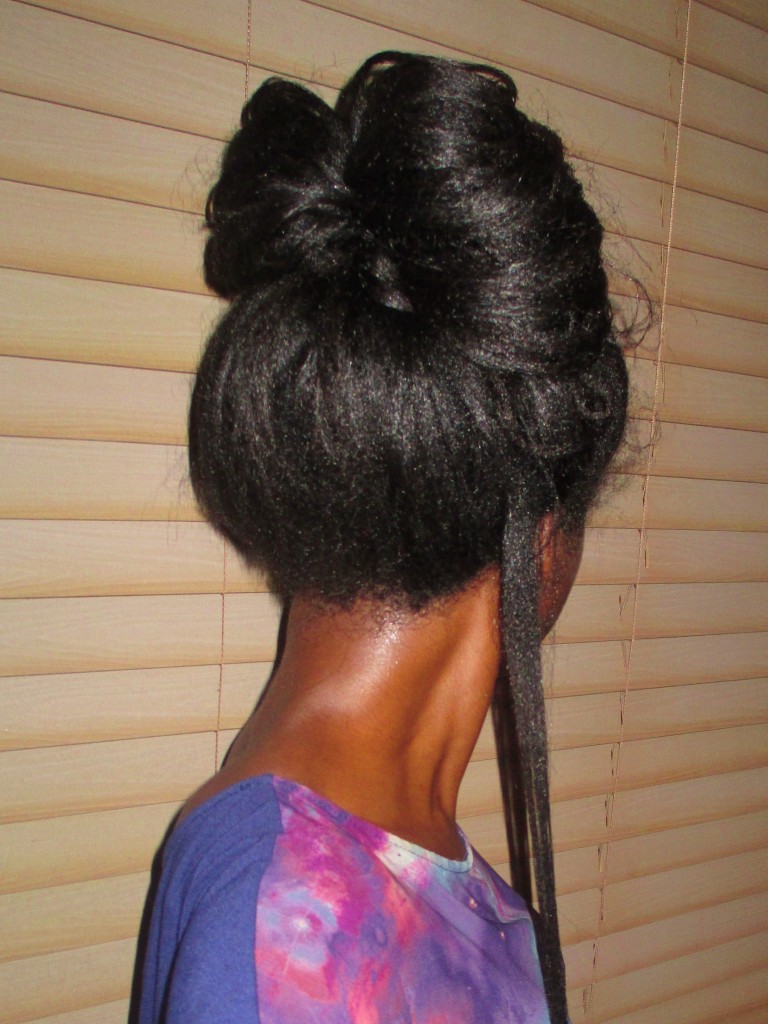
The first time I texlaxed my hair was before my hair journey.  It was during the period I was experiencing a lot of breakage and shedding and was in panic mode about the state of my hair. I searched the internet for a certified afro hair stylist and decide to try out her salon.

During my appointment she explained to me that she did not relax hair bone straight because it was not good for our hair.  I agreed because I was desperate to stop my hair breakage and was willing to try almost anything.   She texlaxed my hair and at first I hated it desperately……it just seemed poofy to me.  For many weeks after, my workmates kept commenting on how thick my hair was and I had gotten used to the texture in my hair.  I grew to love it and that was the end of my relaxer days.
I still did not have a hair regimen then so my breakage carried continued.
When I started my hair journey I gradually trimmed off my relaxed ends.

MY TEXLAXING METHOD

texlaxed hair collage

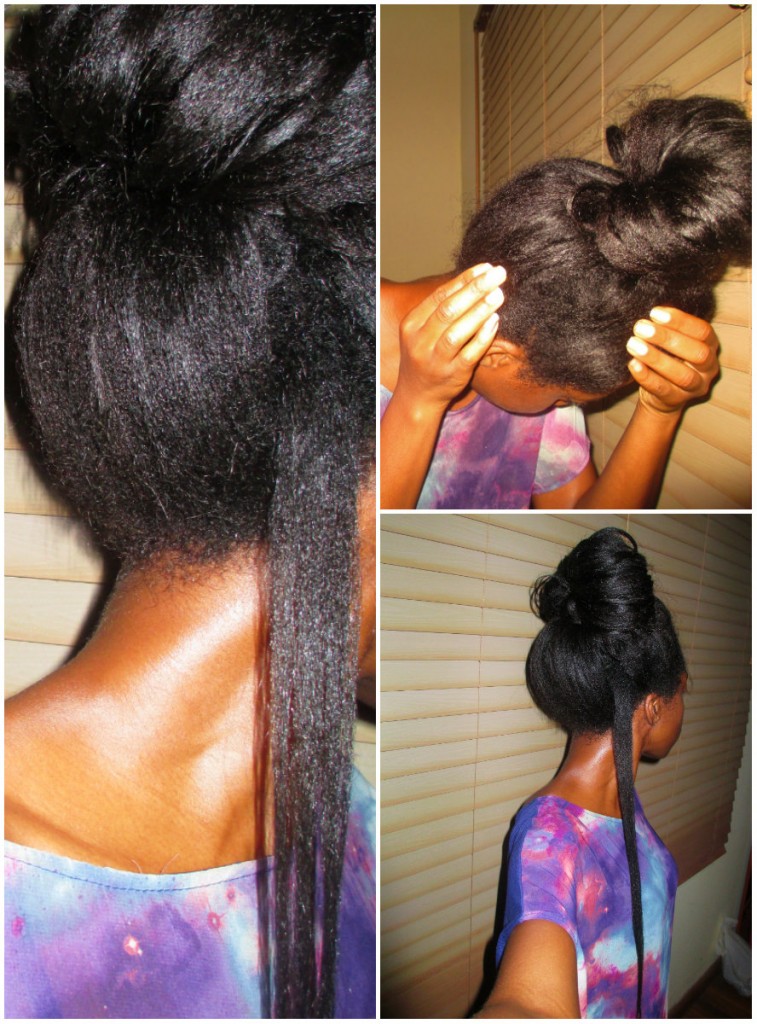
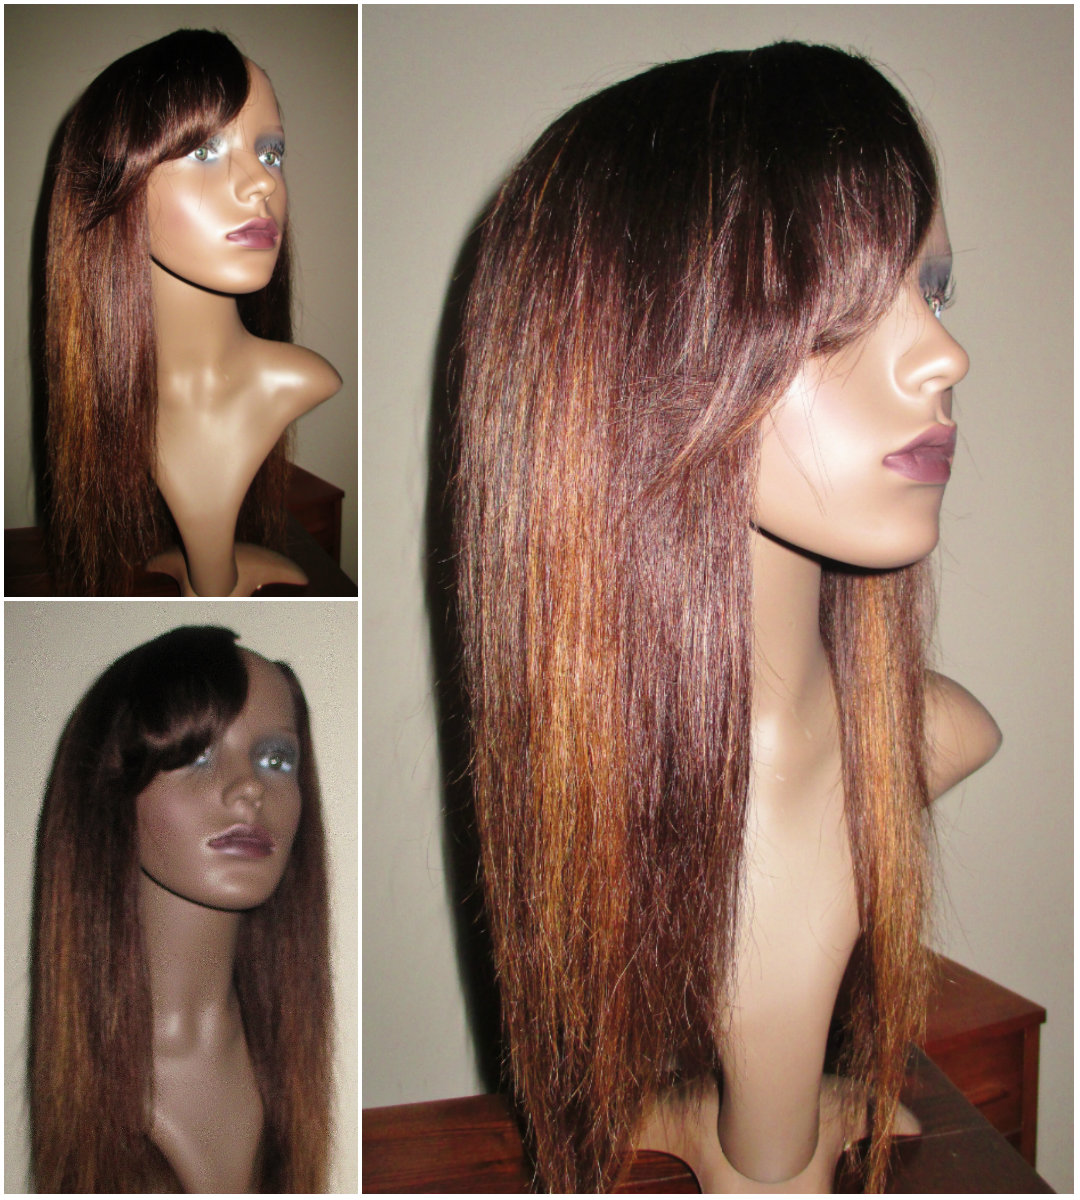
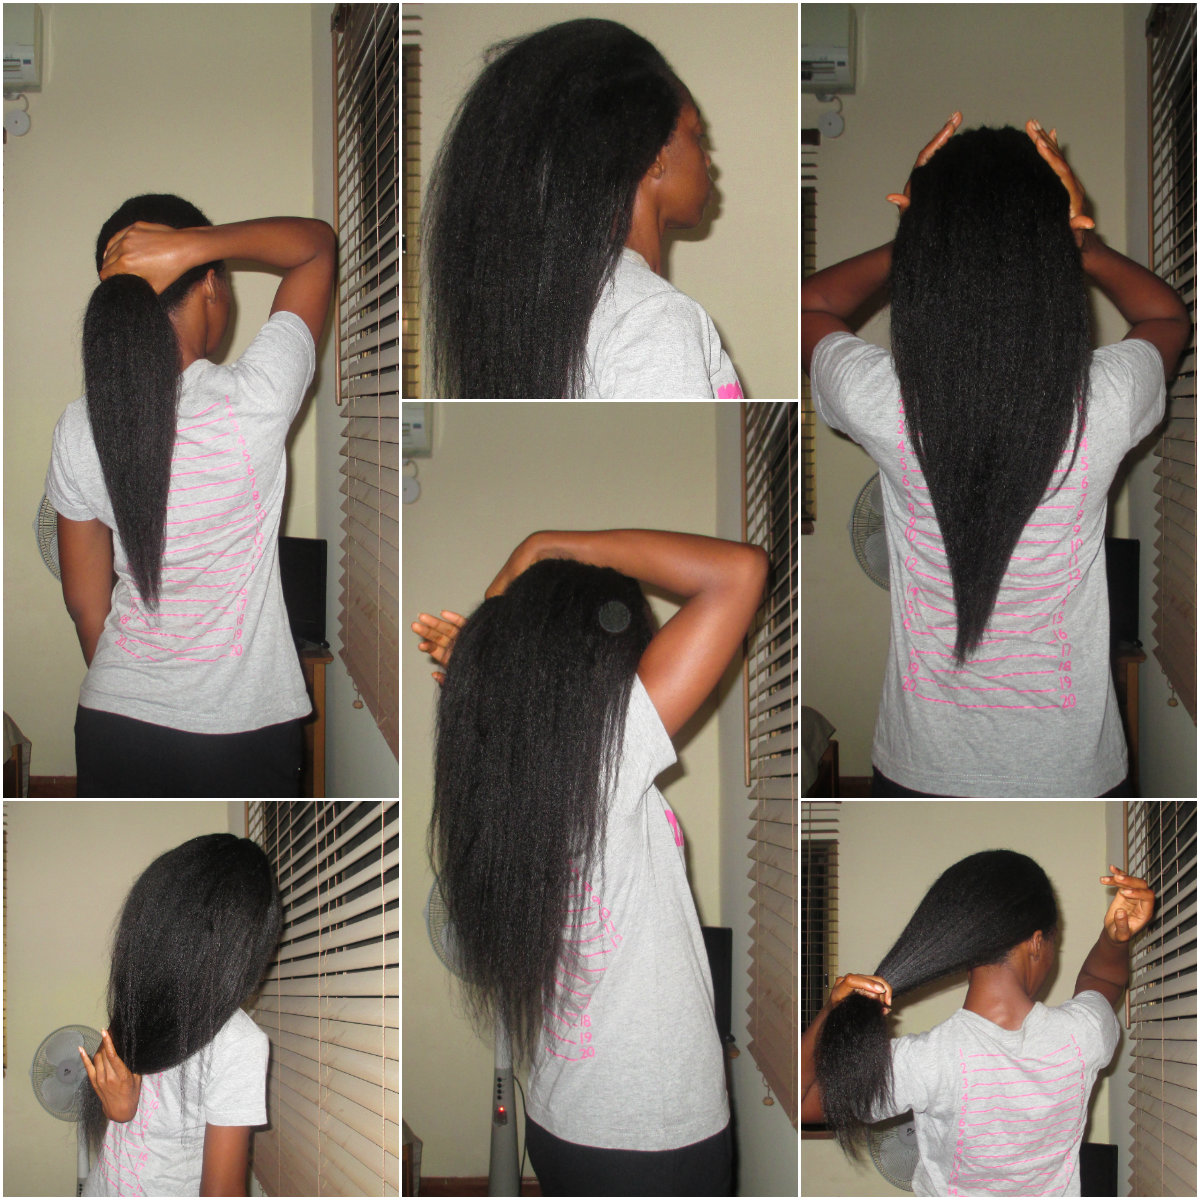
My texlaxed hair at 9 weeks post. You can see the uneven textures if you look closely however from a distance its not too obvious.

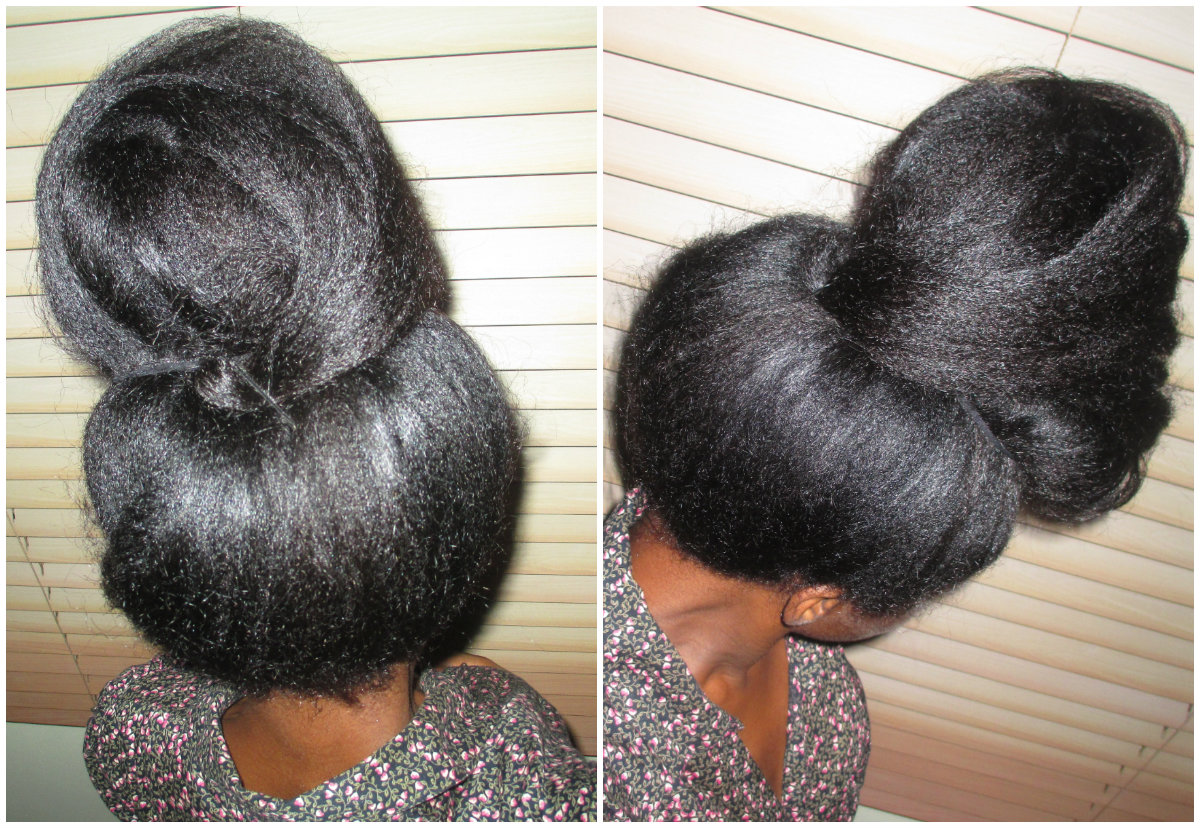
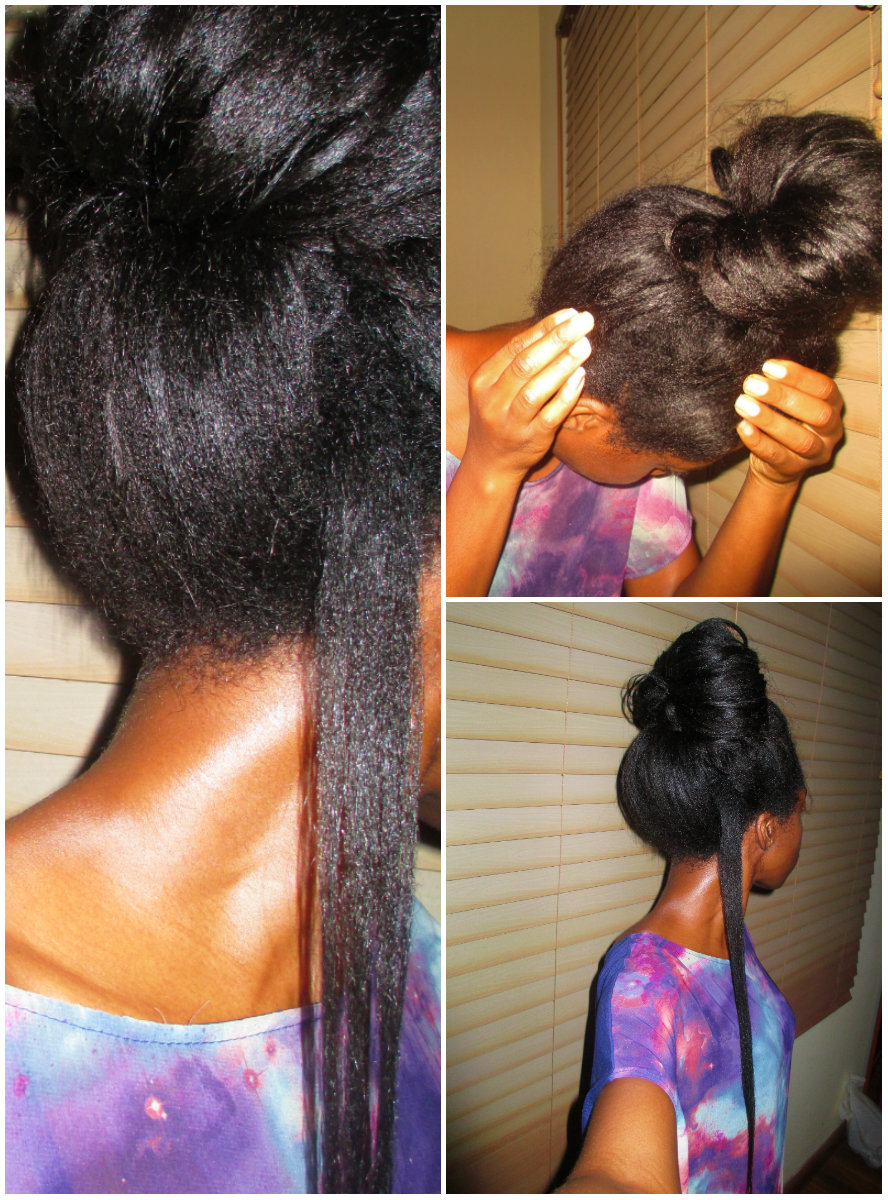
I like my hair to look as natural (unrelaxed) as possible.  I must have said so many times but will say again that my aim is to have hair that looks like stretched out natural hair. I think this is what suites me best and I love big hair.  So every time I texlax I go the extra mile to avoid getting bone straight results.
For this reason I use methods 1 to 4 when I texlax my hair.  Yes!!!! 1 to 4.

1)      I weaken my relaxer by adding olive to it.  I tend to use half a jar ( of Organic Roots Stimulator no base relaxer)  when I relax my hair and I mix in 2 to 3 teaspoons of olive oil.

2)      I apply Jamaican Black Castor Oil (JBCO) to my new growth, olive or coconut oil to my previously relaxed hair.

3)      It takes my sister and I between 10 to 12 minutes to apply relaxer to my new growth.  Considering the fact that I usually have 3 inches of thick new growth that is actually quite quick.  Once the relaxer is in my hair,   I wait a maximum of 5 minutes to rinse it out.

4)      After the relaxer has been applied to my new growth, I simply massage/pull my roots straight once.  I don’t go through smoothing with the end of a comb or spend ages pulling my roots into a straight shape.


Please note the following

1)      It took me a while to figure out how much texture I wanted to leave in my hair and how to achieve this.  There been a lot of experiment over the course of my hair journey but now the above method works for me.  Sometimes some parts of my hair still get straighter than I would like but overall I am happy with the results I get.

2)      You are more than welcome to try my method if you like but please note that it may get you a different result, ie your hair could end up being straighter or retain more texture than mine.  You don’t have to use all 4 methods that I use.  A lot of ladies simply use method 1 only and it works for them like a charm. I encourage you to experiment a little.

3)      Texlaxed hair has a lot of challenges; it tends to tangle more and can be more time consuming than bone straight relaxed hair.  The fact however is that texlaxed hair is NOT the same as relaxed hair and should not be treated the same way.  If you are transitioning to texlaxed you will have to review your techniques and your products.  Check that your moisture and protein balance levels are still okay for your hair (do you need to use less protein and more moisture or is your old formula still okay), you may need to work in smaller sections, etc.

Despite the cons I am a firm believer and fan of texlaxing.  I believe that its advantages are worth that extra time required.  But that is just my opinion and you should do what you want to do with your hair whether it’s going natural, texlaxing or have it pin straight.   It’s all about being informed.


I hope you’ve found this post useful.  Are you texlaxed or thinking of transitioning to texlaxed?  What method do you use? What do you like or loath about your texlaxed hair?

Coming up next is a hair update post and a style pictorial. It’s been ages since I did one of those.  Happy hair journey ladies.  Come back soon.

X

Lade

Learn | Change | Grow