RELAXERS & HOW TO MINIMISE THE RISK OF HAIR LOSS WHEN RETOUCHING ( PART TWO)

Relaxer2a

For a complete grasp of relaxing and minimising hair loss from relaxing, please ensure you have read part 1 of this post.
Preparing black hair for relaxing should commence a week before the relaxer date.  This is especially important if your hair has just been removed from extensions. Hair should be removed from extensions at least a week before relaxer day.


ACTIONS TO BE COMPLETED THE WEEK BEFORE RELAXING BLACK HAIR

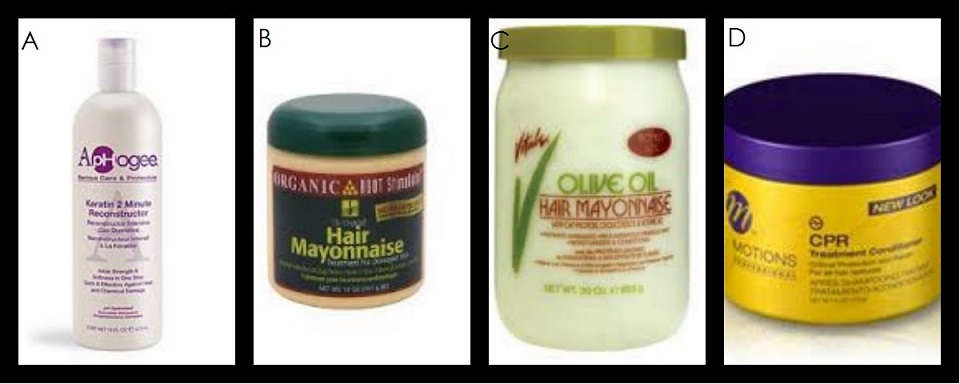
1)    Wash and deep condition with a protein conditioner
Hair that has a lot of new growth and hair that has just been removed from extensions tends to matt and tangle when being washed.  For this reason I would advise that the hair is thoroughly detangled and then put into 6 to 8 box braids (calabar with no extensions).
The hair can be washed and deep conditioned in the box braids as this will decrease the risk of the hair matting.  A detailed post on how to do this will be up soon.
A protein conditioner will give the hair the strength it needs to undergo the relaxing process.  A moisturising leave-in conditioner should be used to restore protein/moisture balance.

2)    Avoid scratching or irritating the scalp
Avoid scratching or irritating the scalp during the week.  Also your hair should be put in a simple style that will not require a lot of pulling and combing to achieve.  The style should also be easy to maintain or recreate during the week.
If you need to comb your hair during the week divide your hair into four sections, and comb through gently with a wide tooth comb.  This way you do not disturb your scalp. A scratched or irritated scalp has a high risk of burning and becoming damaged during the relaxing process.

3)    Moisturise and Seal   
The hair should be moisturised and sealed a few times during the week to prevent it from becoming excessively dry.


A STEP BY STEP GUIDE FOR RELAXER DAY

relaxer2b


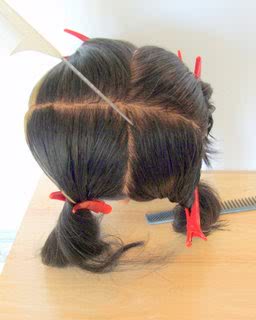
1.    Part hair into 4 or more questions
Your hair should be parted into 4 or more sections.  I part my hair into 5 sections, 3 at the back and 2 at the front.  Because I relax every 4/5 months, I have loads of new growth so parting my hair into 5 sections for relaxing makes it easier to access the roots.
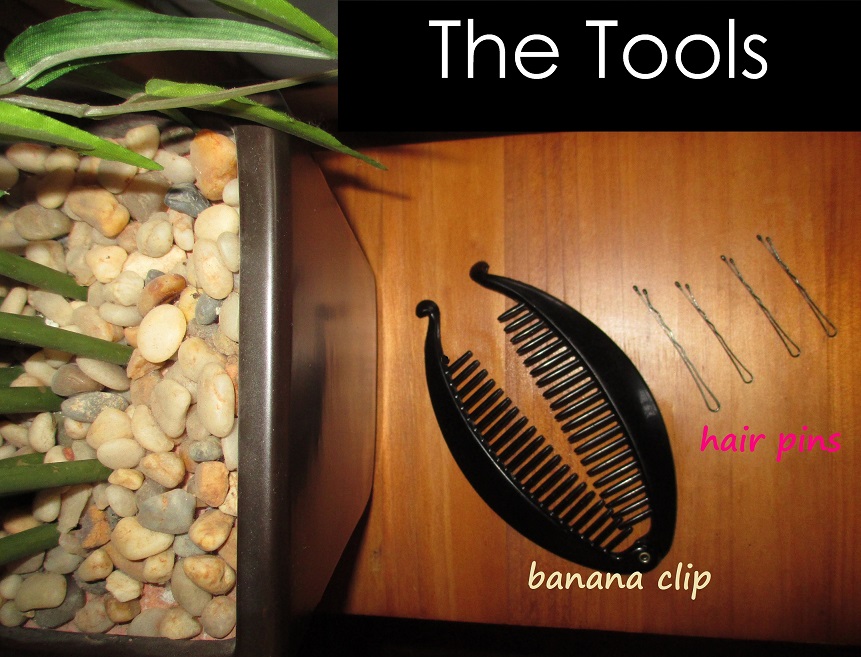
You can keep the sections separated by using a hair clip or hair band. When you are at the salon, ensure the hair is kept in those sections throughout the relaxing process, for ease of access.

2.    Detangle each section
Detangle each section gently with your hands.  This can be followed by a wide tooth comb if necessary.
This is ESSENTIAL.  Do not apply relaxer to hair that has knots and tangles.  If the tangles are left in the hair, if will cause bigger tangles and knots when the hair is being washed.  These will be very hard to remove by hand and will cause major damage if they are combed out.
To avoid this ensure your hair is thoroughly detangled before relaxing.  The salon may not be willing to spend that much time detangling thoroughly or gently enough.  I advise you to detangle yourself at home before going to the salon.

3.    Protect your scalp
Oils like pure olive oil, coconut oil, castor oil, etc should be applied to the scalp whilst detangling to protect the scalp.


4.    Protect hair that has been previously relaxed
Hair that has been relaxed previously must be protected to prevent over processing.  To do this, apply either an oil or conditioner to previously relaxed hair to protect it.


5.    Protect your hair line and perimeter
Ensure oil or hair grease is applied to your hairline and your ears to protect them.


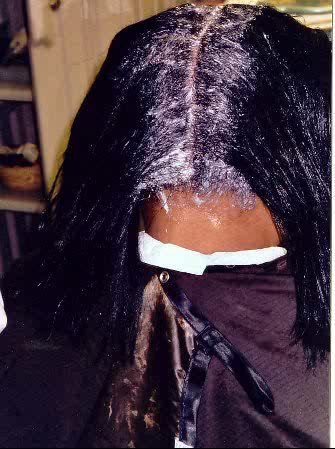
 6.    Apply relaxer to new growth only
Relaxer must be applied to natural new growth only, it must not be applied to previously relaxed hair.  Applying relaxer to previously relaxed hair will cause over processing.  Over processed hair will break gradually over the following weeks and months.


relaxer2c

7.    Avoid combing through hair when there is relaxer in it
The back of a rat tail comb may be used to smooth in the relaxer or hands can used to pull the hair straight.  Combing through can lead to damage and may also irritate the scalp


8.    Rinse after time recommended by the relaxer brand
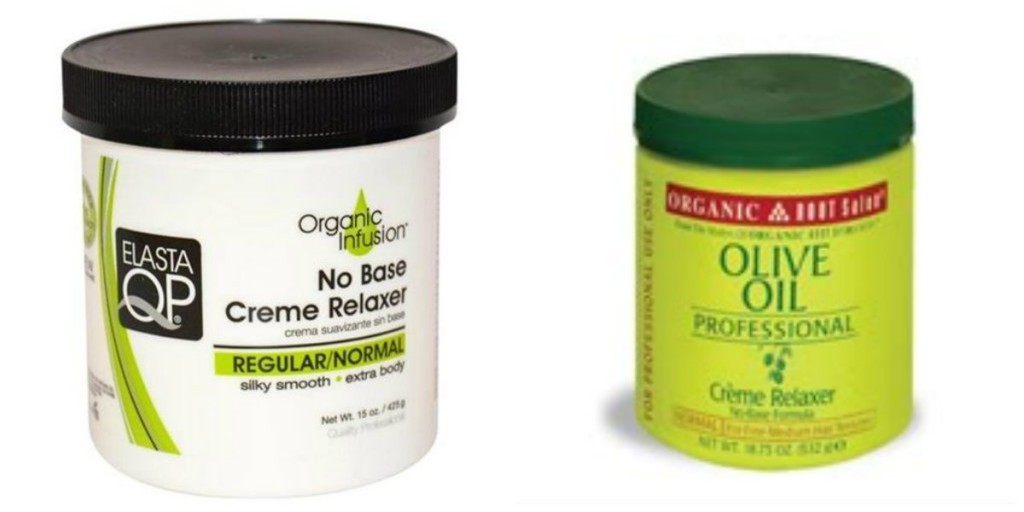
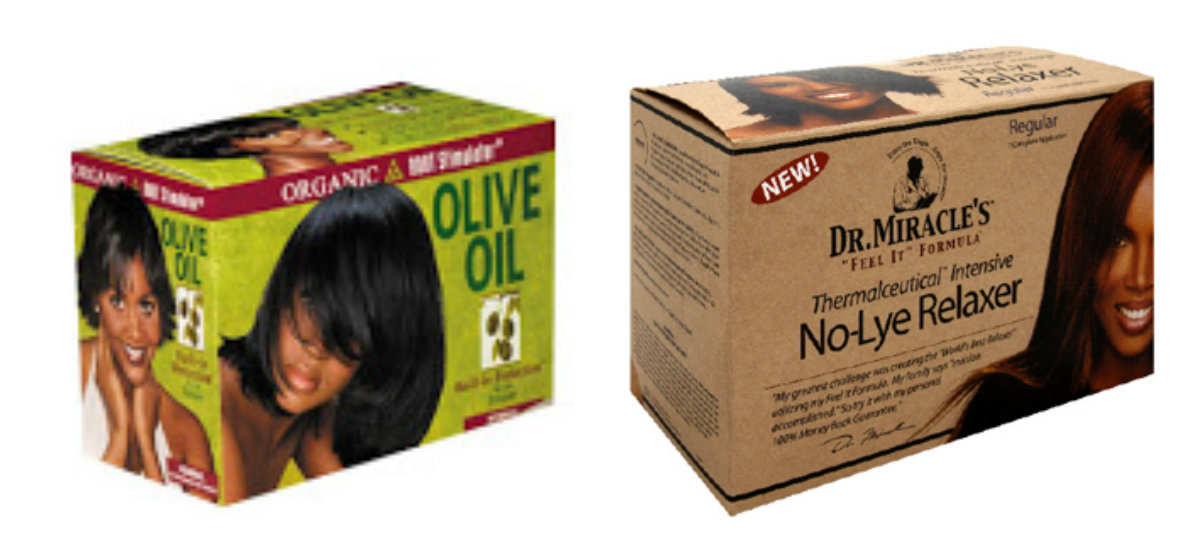
The direction provided on the relaxer jar or box will specify how long the relaxer should be left on for.  Do not wait for your scalp to start burning before rinsing out the relaxer.


9.    Neutralise at least 3 or 4 times.
After the relaxer has been rinsed off, the hair should be washed with a neutralising shampoo a minimum of three times.
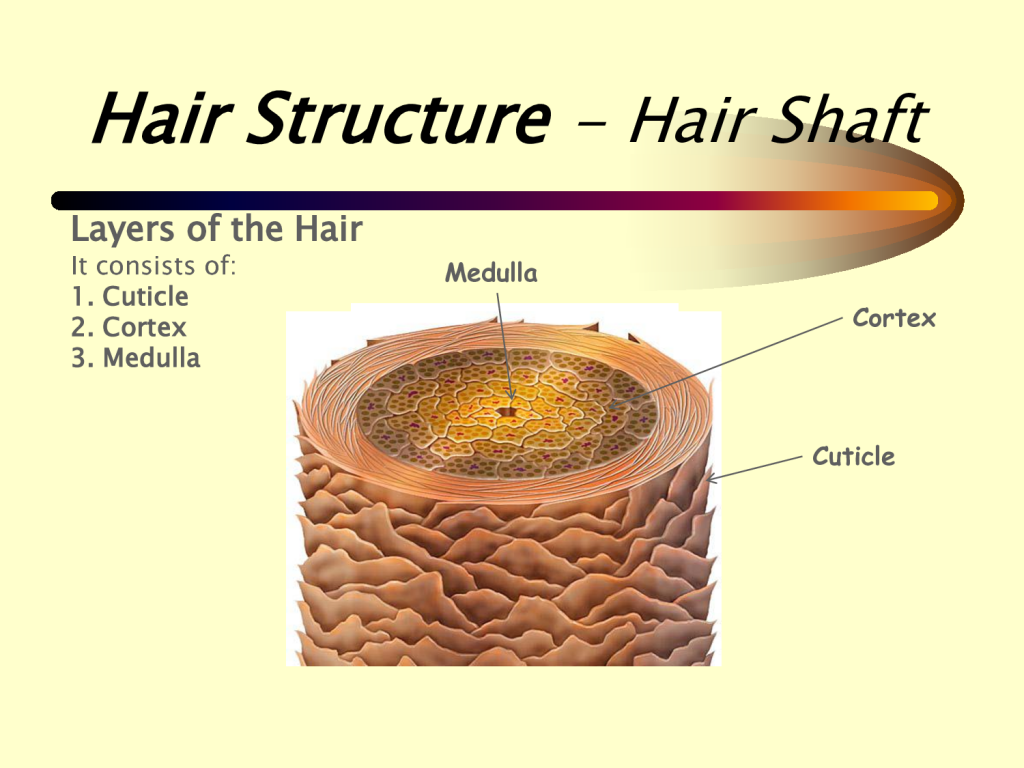
During the second or third wash, the shampoo lather should be left in hair for about five minutes to give it time to penetrate the hair shaft and fully neutralize.  Personally I neutralize 4 times, I’d rather be safe than sorry.


10.
  Deep Condition

After neutralizing, your hair should be deep conditioned with either protein or a mixture of protein and moisture conditioners.
If you use a protein conditioner alone, ensure you follow up with a moisturising leave in conditioner to help restore protein and moisture balance.  Your hair can then be roller set or blow dried gently.


11.  Well done
If you have followed all the instructions above, then you will have greatly minimised the risk of hair loss from the relaxing process.

 DSC06482

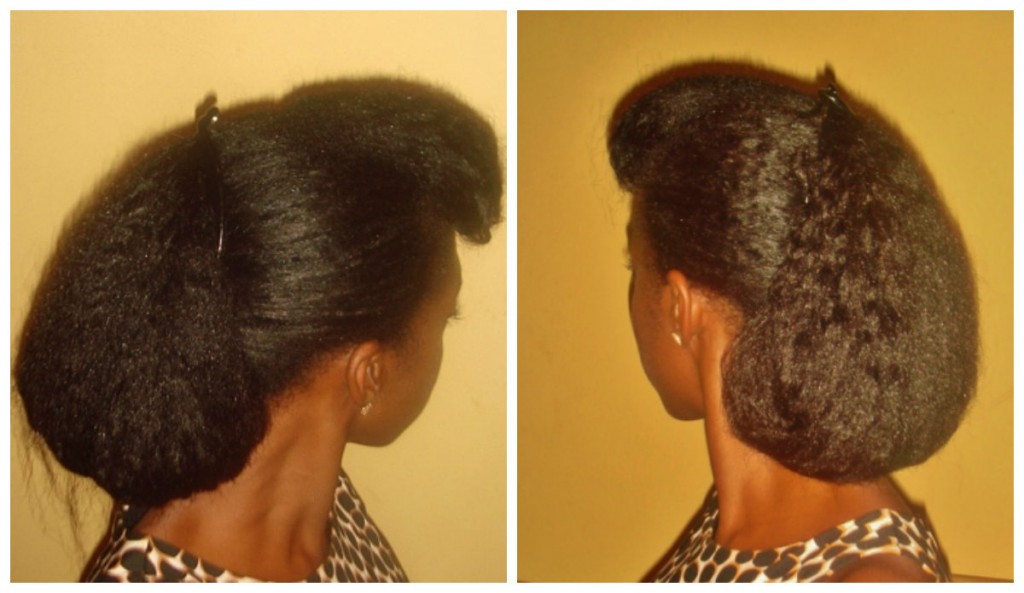
                                           Early 2013-  My hair after a successful but tiring relaxer day

HAIR CARE FOR THE FIRST 2 WEEKS AFTER RELAXING

Do not install braids or weaves in the first two weeks after relaxing your hair.
Hair that has just been relaxed needs a lot of TLC and cannot withstand the tension of extensions.  After the two week period, ensure your hair is washed and deep conditioned with a mixture of protein and moisture conditioners before the extensions are installed.
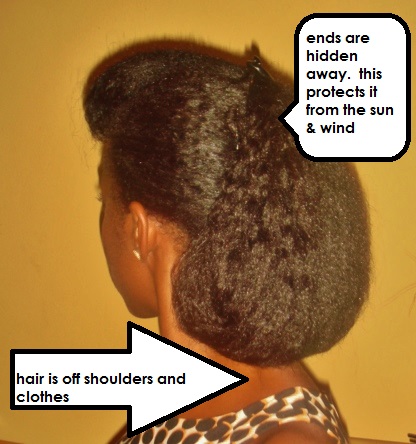
Ensure you take care of your hair in those two weeks, i.e., moisturise and seal regularly, wear protective hair styles, etc.


I hope the above guide has not been too daunting and I hope your next relaxer sessions goes really well.


Learn | Change | Grow


x Lade  


PROTECTIVE HAIR STYLE – PICTURE TUTORIAL

pictorial7 

I thought I should start with a reminder that a protective style is a hair style that does not require heat  or too much manipulation (combing, pulling) to achieve.

It should keep hair off the shoulders and protect the hair from exposure to the elements, especially at the ends.  This basically means that the ends of the hair which are the oldest and weakest parts of our hair should be tucked away or hidden to prevent it from getting dry by exposure to the sun and wind, or from getting damaged from rubbing on your shoulders and clothes.

I created the above hair style when heading out for lunch with a few friends.  Please see the pictorial below which shows how you can recreate the style.


THE INSPIRATION
 pictorial 8

WHAT MAKES IT A PROTECTIVE STYLE

DSC07120

THE PICTORIAL

IMG_0187Pictorial

HAIR + STYLE Pictorial3


RELAXERS & HOW TO MINIMISE THE RISK OF HAIR LOSS WHEN RETOUCHING (PART 1)

 Relaxer101

I used to be the girl that would remove her weave and get her hair relaxed on the same day.
I often left the salon disappointed because my hair would be the same length or in some cases shorter and thinner than when I installed the weave. I did not know what I was doing wrong.

A lot of us relax our hair but unfortunately a large percentage of us suffer hair loss as a result of it.  This blog post will be the first of a two part series about relaxers and how to prevent hair loss as a result of relaxing.

In this post I will address the following

1)      How do relaxers work  (to give readers a better understanding of the risks involved)

2)      Types of relaxers (to help readers decide which is best for their hair and scalp)

3)      How often should hair be relaxed   

4)      Preparing hair for retouching and why this is an ESSENTIAL step for preventing breakage


HOW  DO RELAXERS WORK

Hair structure

Our hair has several types of protein links/bonds in its structure.  Relaxers work by opening the cuticle layer and penetrating the cortex of our hair.
The relaxer breaks some of the protein links in the cortex our hair.  The hair is then smoothed/pulled into its new straightened shape.


The unfortunate truth is that relaxers work by weakening the structure of black hair.  Please note however that relaxed hair can still look healthy and be strong if correct steps are taken before, during and after relaxing.
If relaxers are abused or used too often it can result in damage to the scalp and cause major hair loss.  This risk is well publicised but unfortunately several of us ignore this advice because the hair loss that occurs may not be immediate.  Relaxer abuse will result in weakened hair that breaks gradually over weeks and months.


TYPES OF RELAXERS


LYE RELAXERS

LYE


These are usually packaged in a jar or tub and are ready for use, i.e. there is no need to mix them with activators. They are sometimes called No-Base Relaxers.

PROS
Lye relaxers are said to be better for hair fibres because the formula does not leave mineral deposits on the hair. Mineral deposits left on hair fibres can hinder its ability to absorb moisture.
Also the levels of protein breakage that occurs with lye relaxers will allow the hair to retain more of its natural strength and elasticity than no-lye formulas.

CONS
Lye relaxers can be quite harsh on our scalp  in comparison to no-lye relaxers. For this reason, lye relaxers may not be suitable for ladies with very sensitive scalps or ladies that burn easily.


NO-LYE RELAXERS

NoLye


These usually come in a box kit that contains activators to be mixed in to activate the formula.

PRO
No-lye relaxers are said to be
“easier” on the scalp than lye relaxers.  This means that it is not as harsh on the scalp as lye formulas.  So if you have very sensitive scalp which burns easily you may want to consider using a no-lye relaxerPlease note that all chemical relaxers (lye or no-lye formula) can cause severe scalp burns and hair loss if it is used incorrectly

CONS
No-lye relaxers can leave our hair quite dry.  This is because no-lye formulas leave some mineral residues on our hair fibre which decreases its ability to absorb moisture
Remember dry hair has a higher risk of breaking. To overcome this problem a chelating shampoo should be used once a month if you use a No-lye relaxer formula. Chelating shampoos work beneath the surface of the hair fibres to remove stubborn minerals from no-lye relaxers, chlorine in swimming pools and hard water residue.


HOW OFTEN SHOULD HAIR BE RELAXED Relaxer 6

My hair 16 weeks after it was relaxed, at the Naturals in The City Event in Lagos
New camera! Please bear with me whilst I learn how to adjust the camera light settings.


When your hair has been relaxed, you should
wait at least 8 weeks
before your next relaxer.  Relaxers are meant to be applied to new growth and not on hair that is already relaxed.
The amount of new growth we have before 8 weeks is usually less than 1 inch long.  If relaxer is applied to hair that has very little new growth, it will come in contact with previously relaxed hair thereby relaxing it twice and over processing it.
Over processed hair is very damaged and it will break easily over  the following weeks and months.

Stretching Beyond 8 Weeks
The directions on most chemical relaxers suggest that hair should be retouched every 8 weeks. Please note however that you can extend the amount of time between your relaxer touch ups for longer than 8 weeks.
Extending the amount of time between your relaxers for more than 8 weeks is known as stretching.  For example several ladies on healthy hair journeys stretch their relaxer touch ups to every 10 to 12 weeks,
I relax my hair every 20 weeks.
I will elaborate on stretching, its great benefits and how to take care of hair whilst stretching in a separate post.


PREPARING HAIR FOR RELAXING

protein conditioners

Protein Conditioners

As noted above relaxers work by breaking down some of the protein bonds in our hair.  If hair that is lacking in protein is relaxed, you can begin to imagine how fragile it will be after the relaxer process.   Hair this fragile and damaged will not be able to withstand daily wear and tear and although breakage may not be immediate, it is almost inevitable.  It is therefore essential to prepare for relaxing by ensuring that your hair is not lacking in protein. Hair should be washed and deep conditioned with a protein conditioner a week before it is relaxed.

Hair that has just been removed from extensions is usually weak and in need of protein so to proceed to relaxing it the same day is a recipe for disaster: sooner or later the breakage will occur.
Hair that has been removed from extensions should be thoroughly detangled, washed and conditioned with a protein deep conditioner the week before relaxing.   The hair should be washed in sections or in  single braids to prevent matting and tangles.
Allowing a week between removal of extensions and relaxing will also give your scalp a chance to recuperate.

 As always,  I hope the above facts has helped somebody out there.

Please come back soon for part two which will provide a step by step guide for the actual relaxing process.

Learn | Change | Grow